
How to Make Simple Cold Brew Coffee at Home
(with little to no coffee gear!)
One of the easiest ways to make coffee is to make cold brewed coffee. I say easiest because: most can make it with just common kitchen tools, it's a very forgiving brewing method (it's pretty tough to screw up), and you can make a lot at a time and save it. Cold brew is very much en vogue right now, and for the price of one or two of the pre-made bottles of the numerous brands, you can make an entire week's worth of cold brewed coffee at home, without any coffee specific tools or equipment!
Cold brewed coffee is just that, it's brewed by immersing the coffee grounds in cold or room temperature water over a period of time. Why is it different? Well, by not using near-boiling water, the chemical profile is different since the compounds of the coffee are extracted differently and at different levels. The main difference is that it results in coffee that is less acidic, which many people perceive as being much smoother. Because it wasn't heated it also won't "stale" as quickly and can be stored in the fridge for a few days. The flip side to the different method of extraction is that some of the more subtle and delicate flavors and aromas of say, a lightly roasted single origin coffee, won't necessarily come through, since they don't get brought out or extracted by the hot water. In general, the finished product has more of a smooth sweetness, versus bright, vibrant, or juicy notes. Because of this, and because a lot of people like to add milk or flavoring to cold brew, I will often time use and recommend using less expensive and/or lower quality coffee than for any other brewing method simply because the coffee quality isn't always brought out in the finished product (as much) and you need a lot of coffee to make cold brew. I almost hesitate typing the last part, strictly because the last thing people usually need to do is buy lower quality coffee!
Anyhow, it's the middle of summer here in Phoenix, and it's hot! So, today I'm going to show you the easiest, and my go to way for making a batch of cold brewed coffee.

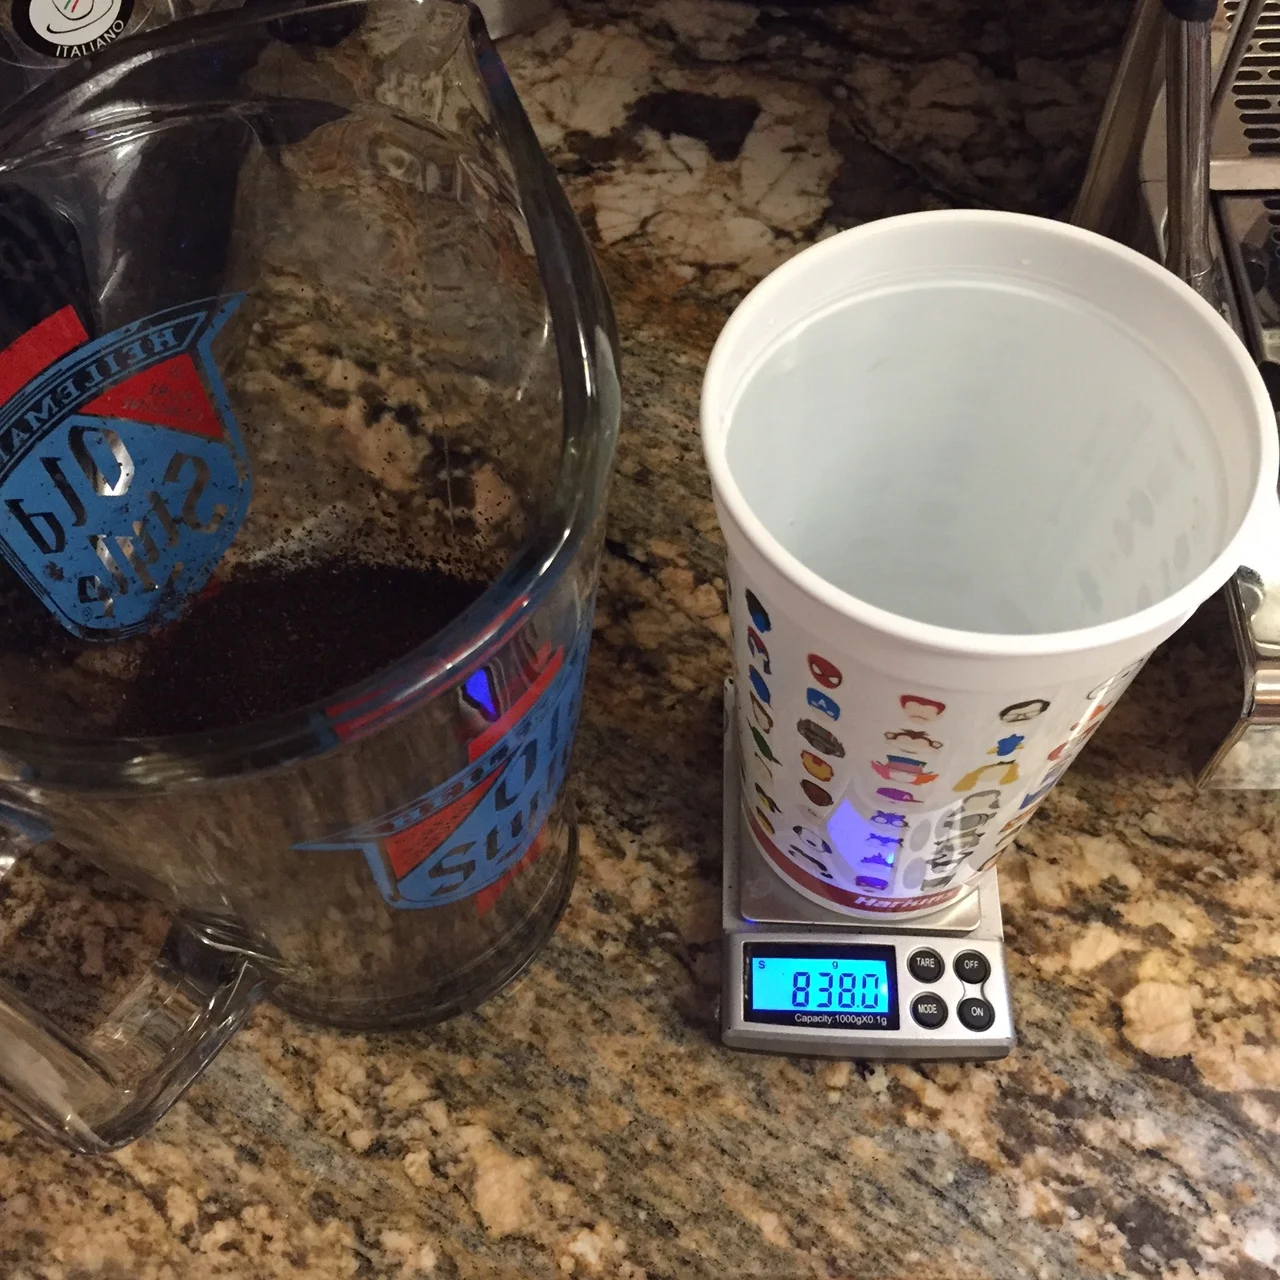
Buy and measure out your coffee. I went for a 1:8 ratio, which is on the slightly weaker side. Using this large beer pitcher this meant I used 200 grams of coffee to 1600 grams of water.
Step 1 - Buy & Measure the Coffee
Like I stated just a minute ago, buying coffee at the grocery store can even suffice for making some cold brew. Be sure to still buy whole bean coffee (so it's not as stale) and the bulk bins like a Trader Joe's or Whole Foods has can be great. Today, I'm even using some darker roasted coffee that I wouldn't normally brew but had on hand.
Because the coffee doesn't have as much acidity to bring forward, flavors are more muted when chilled, and most like to add ice or milk, thus diluting the coffee, you want to shoot for making the coffee twice as strong as usual. Typically speaking, you brew coffee at a 1 : 15-17 ratio. Meaning, for every 1 unit of coffee, you use 15-17 units of water. For cold brew, I like to shoot for a 1 : 7-8 brewing ratio. The preferred method to calculate this would be to weigh the coffee and the water, but if you don't have a scale, fret not. Figure out how many grams of coffee you're using, and then multiple this by 7-8, depending on your preferred strength. The results is the mass of water needed to be added. Although the mass or weight of water can vary by temperature, salt content, etc., typically speaking 1 fluid ounce of water weighs about 29.6 grams. So, divide the number of grams you got by 29.6 and this is how many fluid ounces of water to use if you don't have a scale at home.
Coffee is ground at a coarse setting and getting ready for water.
Grind the Coffee
But what about the grinder? You always say it's the most important. Well, yes it is, but the good news is that the bulk grinders at the grocery store or coffee shop, are usually pretty good, and if you grind there and go home and use it right away, it won't impact it too much. I would still recommend doing this over buying pre-ground coffee, as that coffee has just had that much more time for all of the coffee's oils to dry out and loose flavor.
You want to shoot for a coarse grind, this might be the most coarse setting on most grinders, certainly much more coarse than any filter brewing method, somewhere in between table salt and Kosher or Sea salt sounds about right. The consistency of the grind is also key to how easy it is to filter later, so this is another reason why I recommend using the grinder at the grocery store over any blade spice grinder at home. The taste will also be better because you won't have any fines to over extract and ruin that smooth taste.
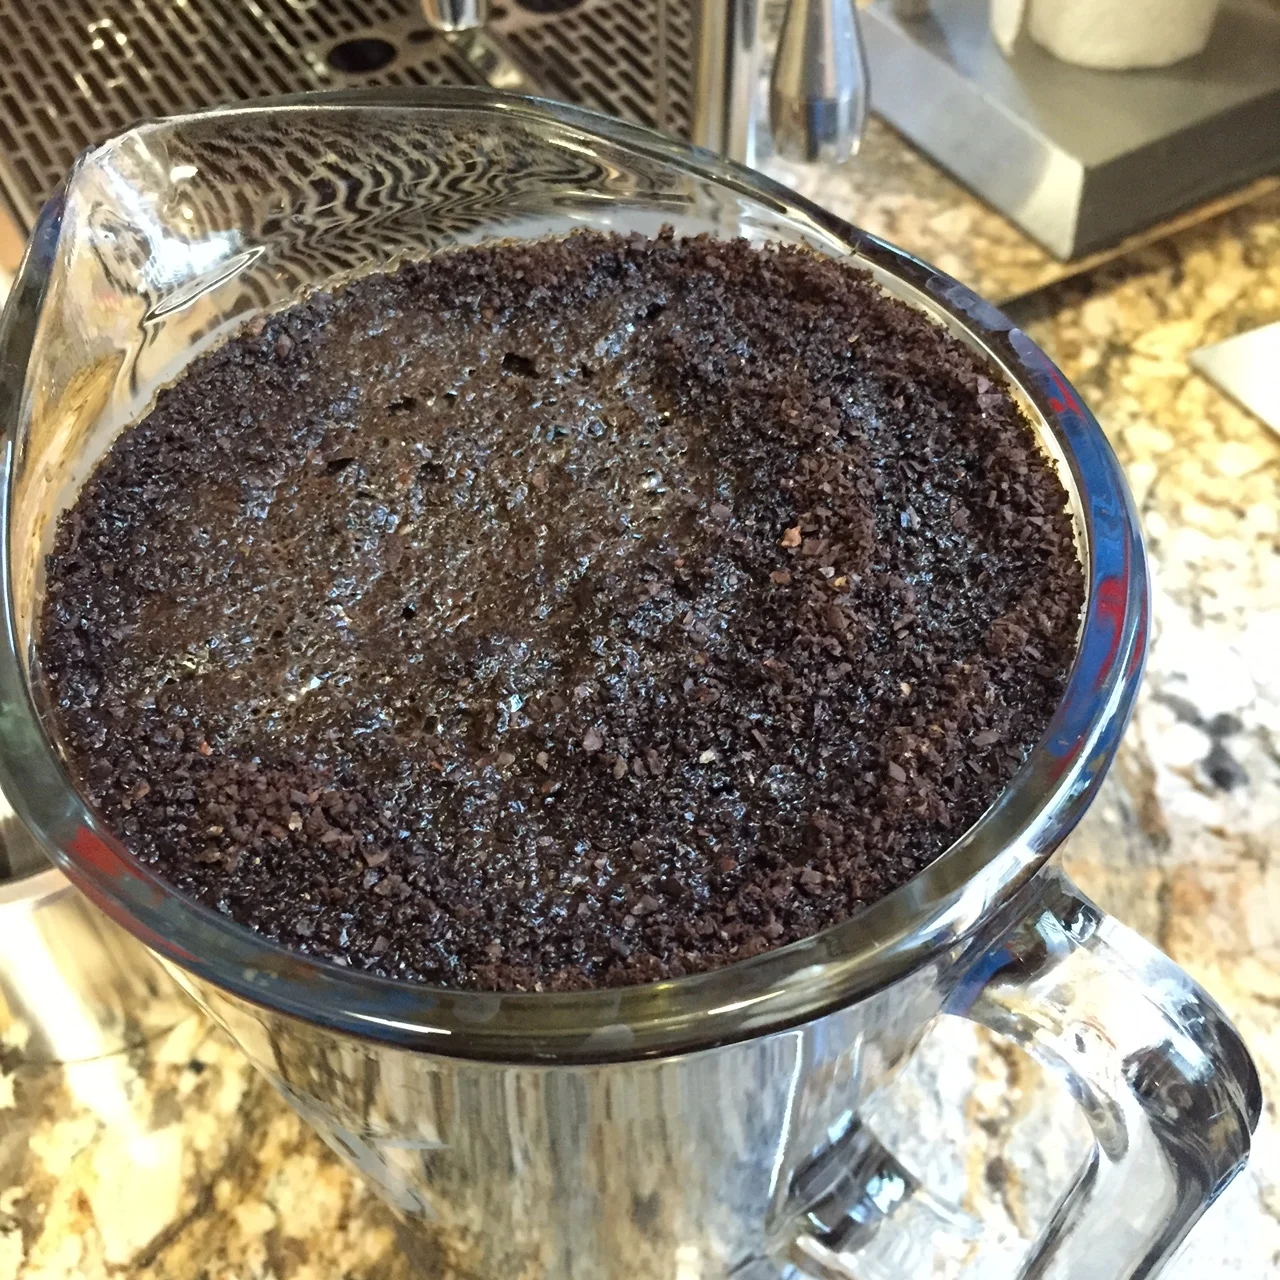
Adding 8 parts water for every 1 part coffee used.

Give it a good stir to make sure all the grounds are saturated.
Add the Agua
Now, simply add the amount of water you calculated out, you math whiz, and let it start brewing. This can be done in anything really. I've used large Tupperware or Pyrex bowls, and I usually just use beer or beverage pitchers. Be careful when using plastic containers though as any previous flavors or aromas can make their way into your coffee and vice versa.
In the pitchers I will usually add coffee, add water, add coffee, and add water again, to kind of layer it and make it easier to stir and make sure all the grounds get immersed, which is what we are really after here.
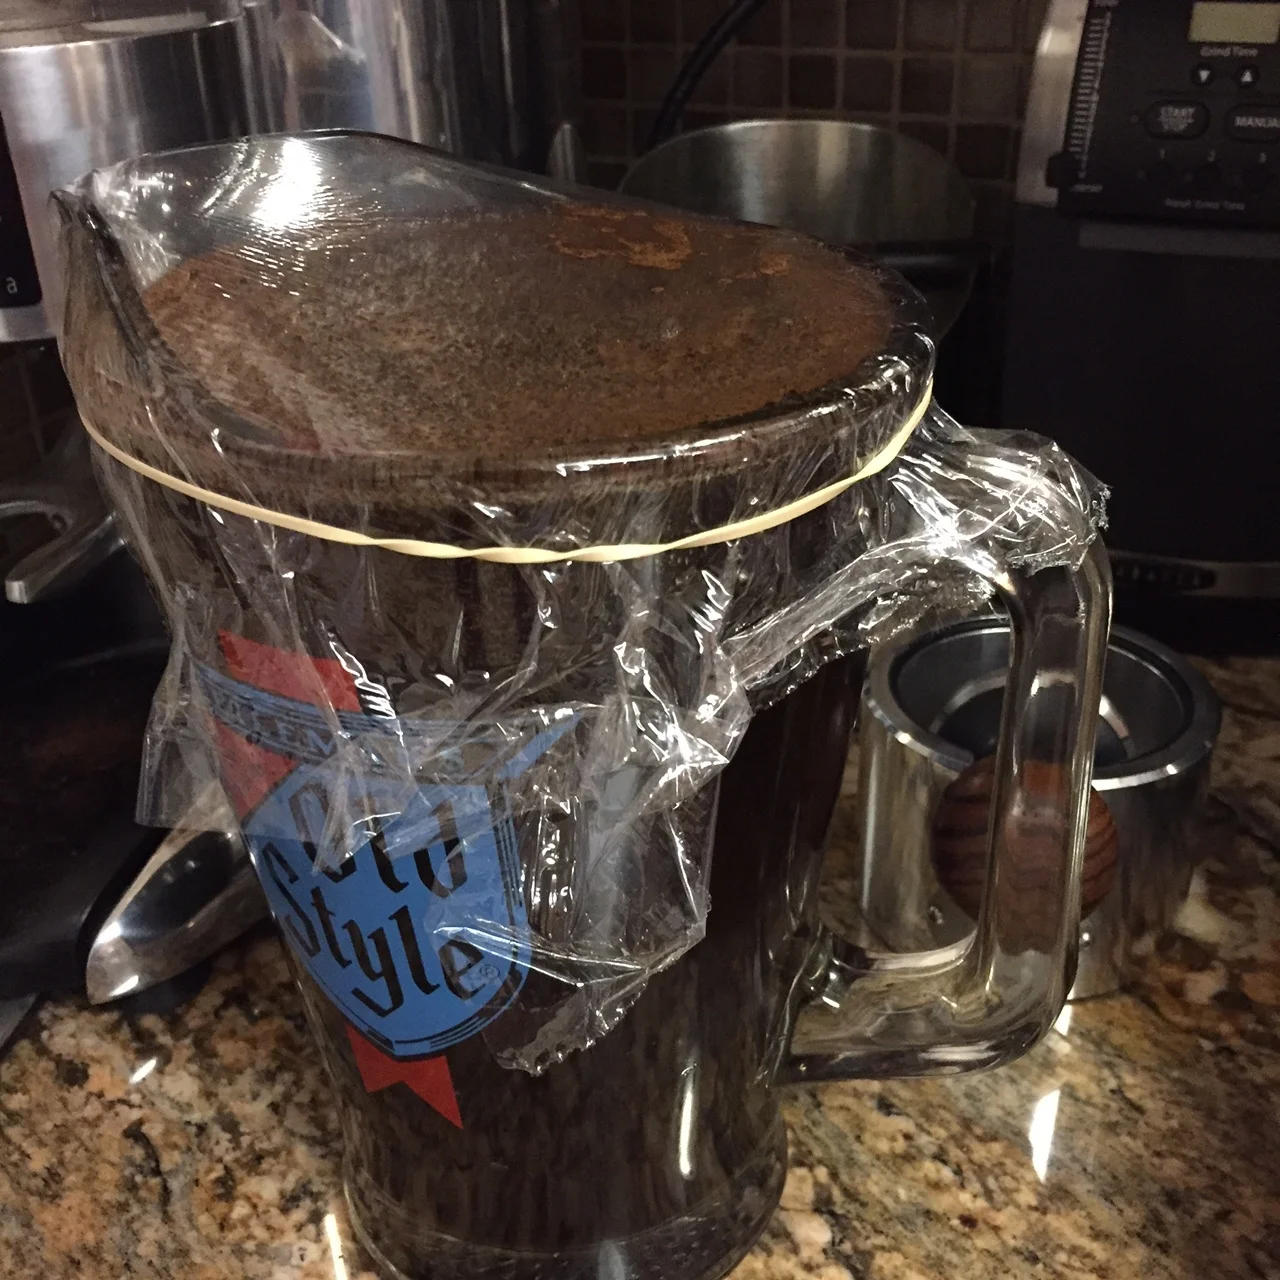
Next, all you do is cover it and set it aside or place it in the fridge. How long you let it brew is up to you, I typically do about 12 or 24 hours just for ease, but experiment with it and see what you prefer. I will generally give it a stir an hour or three after first getting it going, and again halfway through, just to get all of the grounds equally extracting, but even this isn't vital.
On this particular batch, I did a shorter brew time since it was a pretty dark coffee, but I did do it at room temperature, so extraction should still be pretty full. A lot of people like to go longer time in the fridge, and this could provide an even smoother cup, I don't notice a ton of difference either way though.

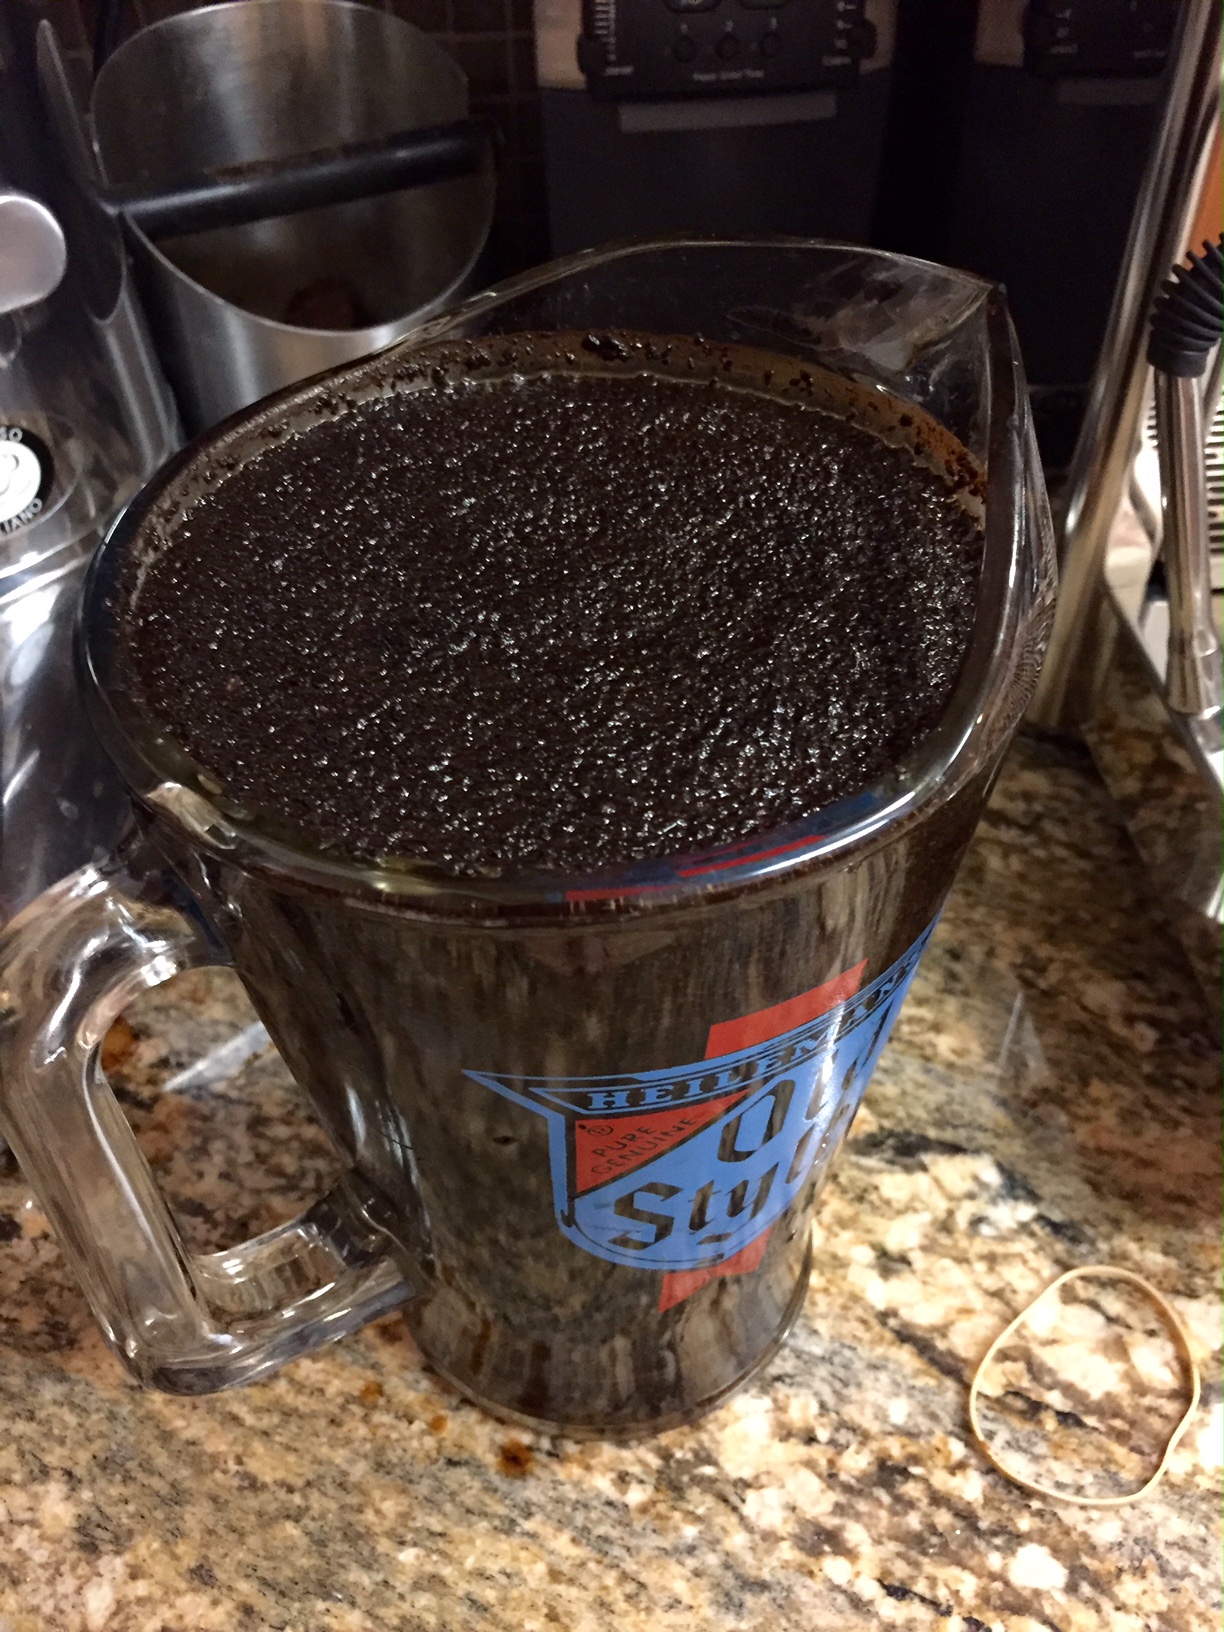
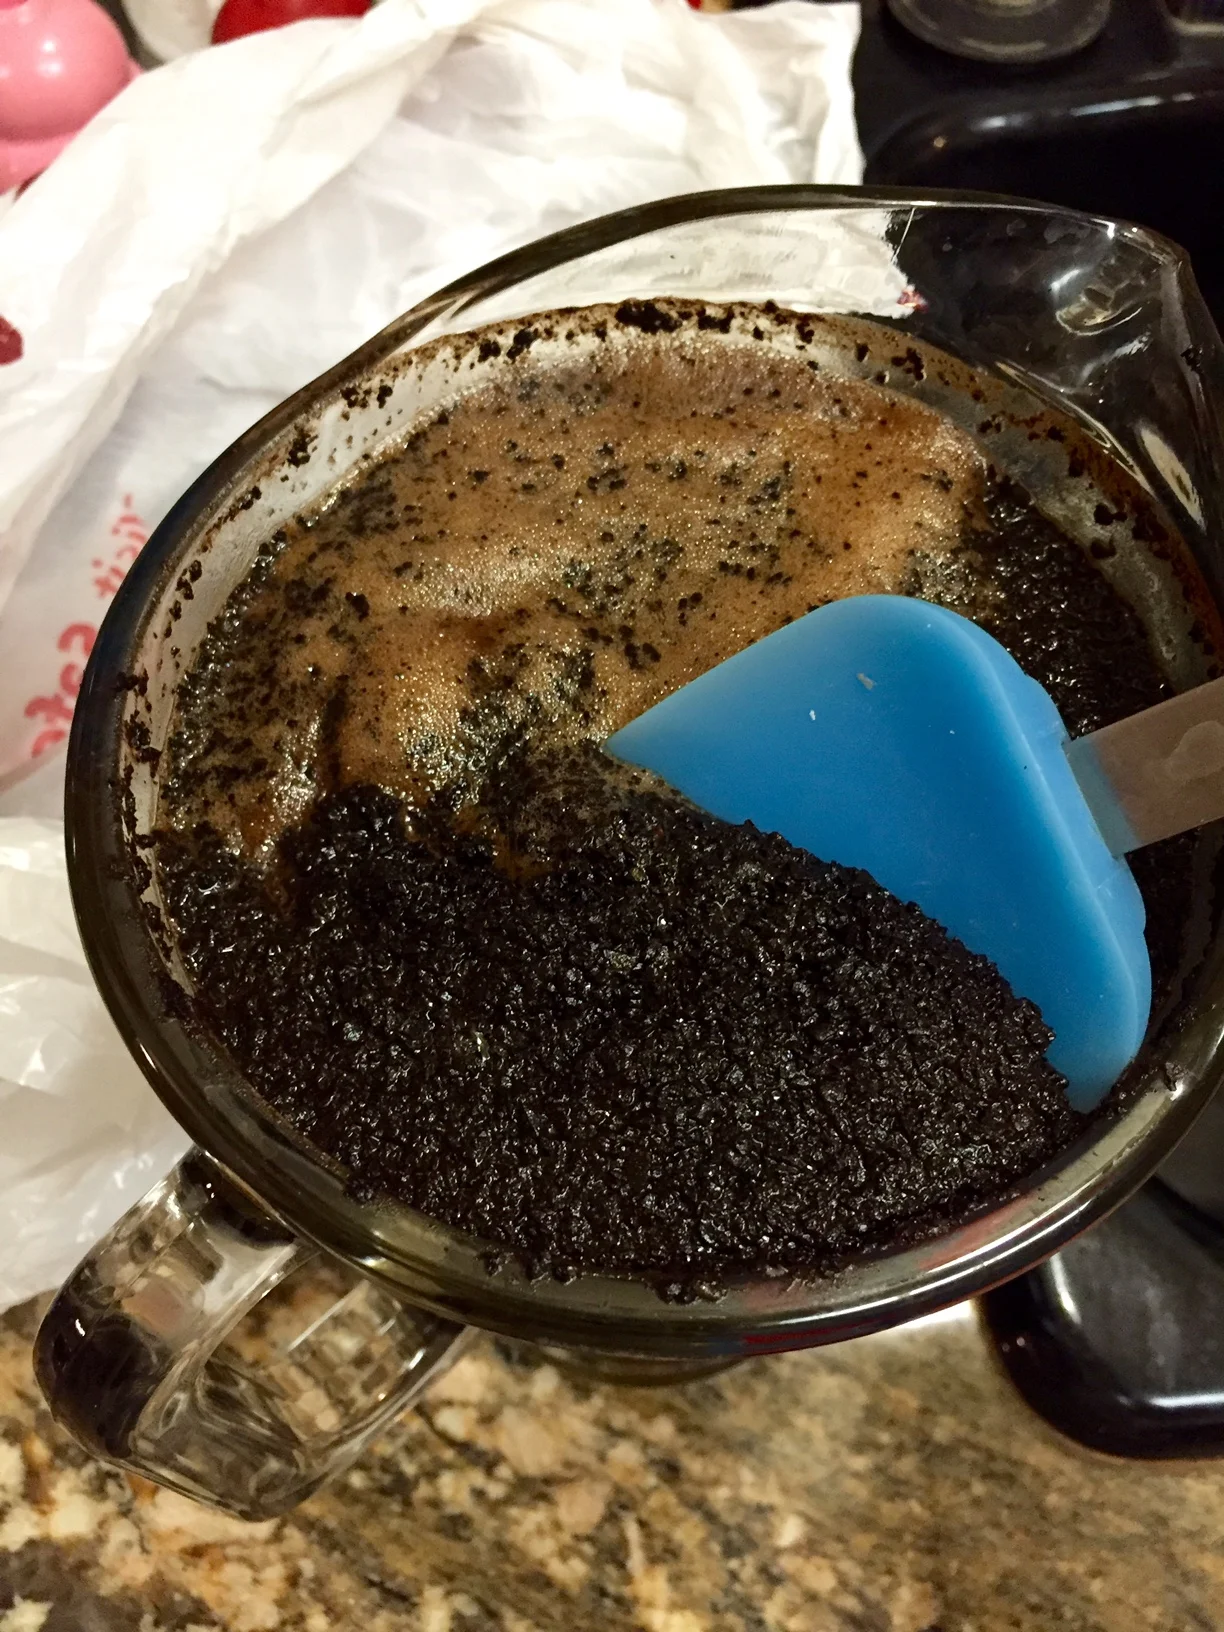
Skimming off the top layer of grounds
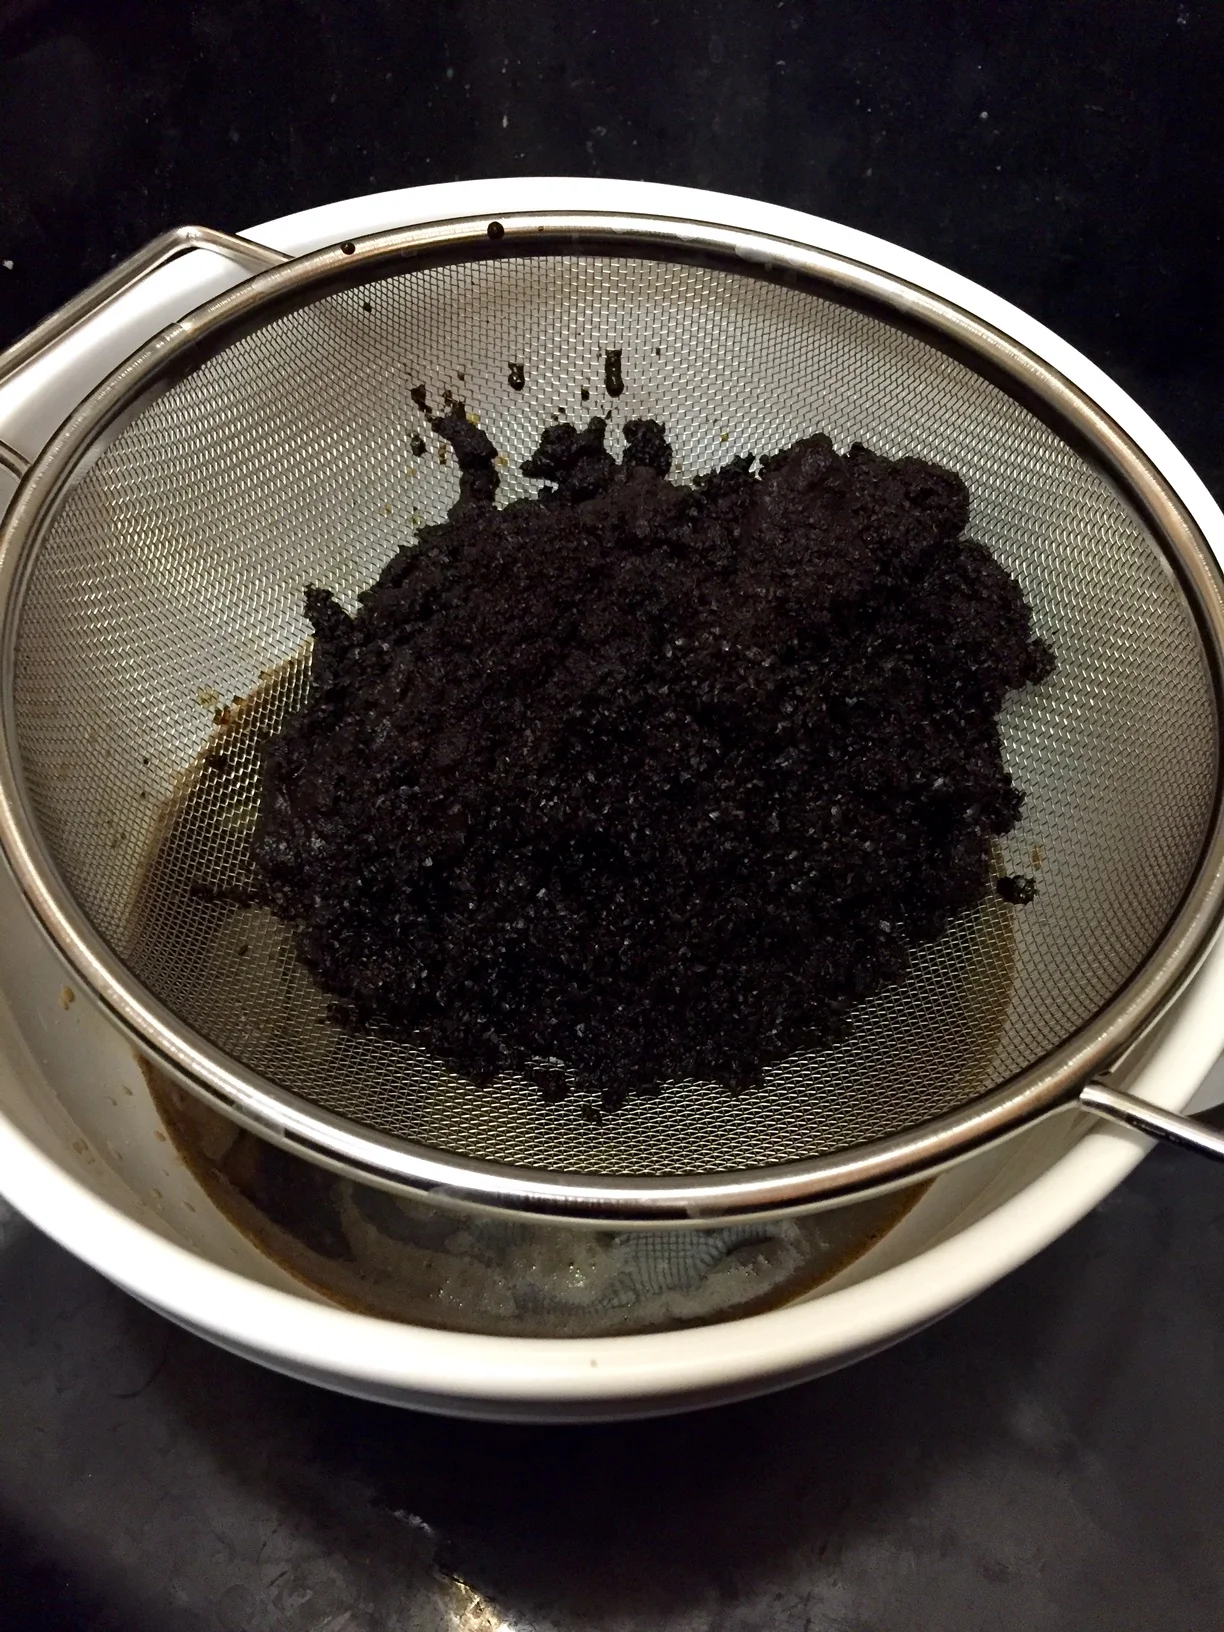
First pass to filter out the coarse grinds.
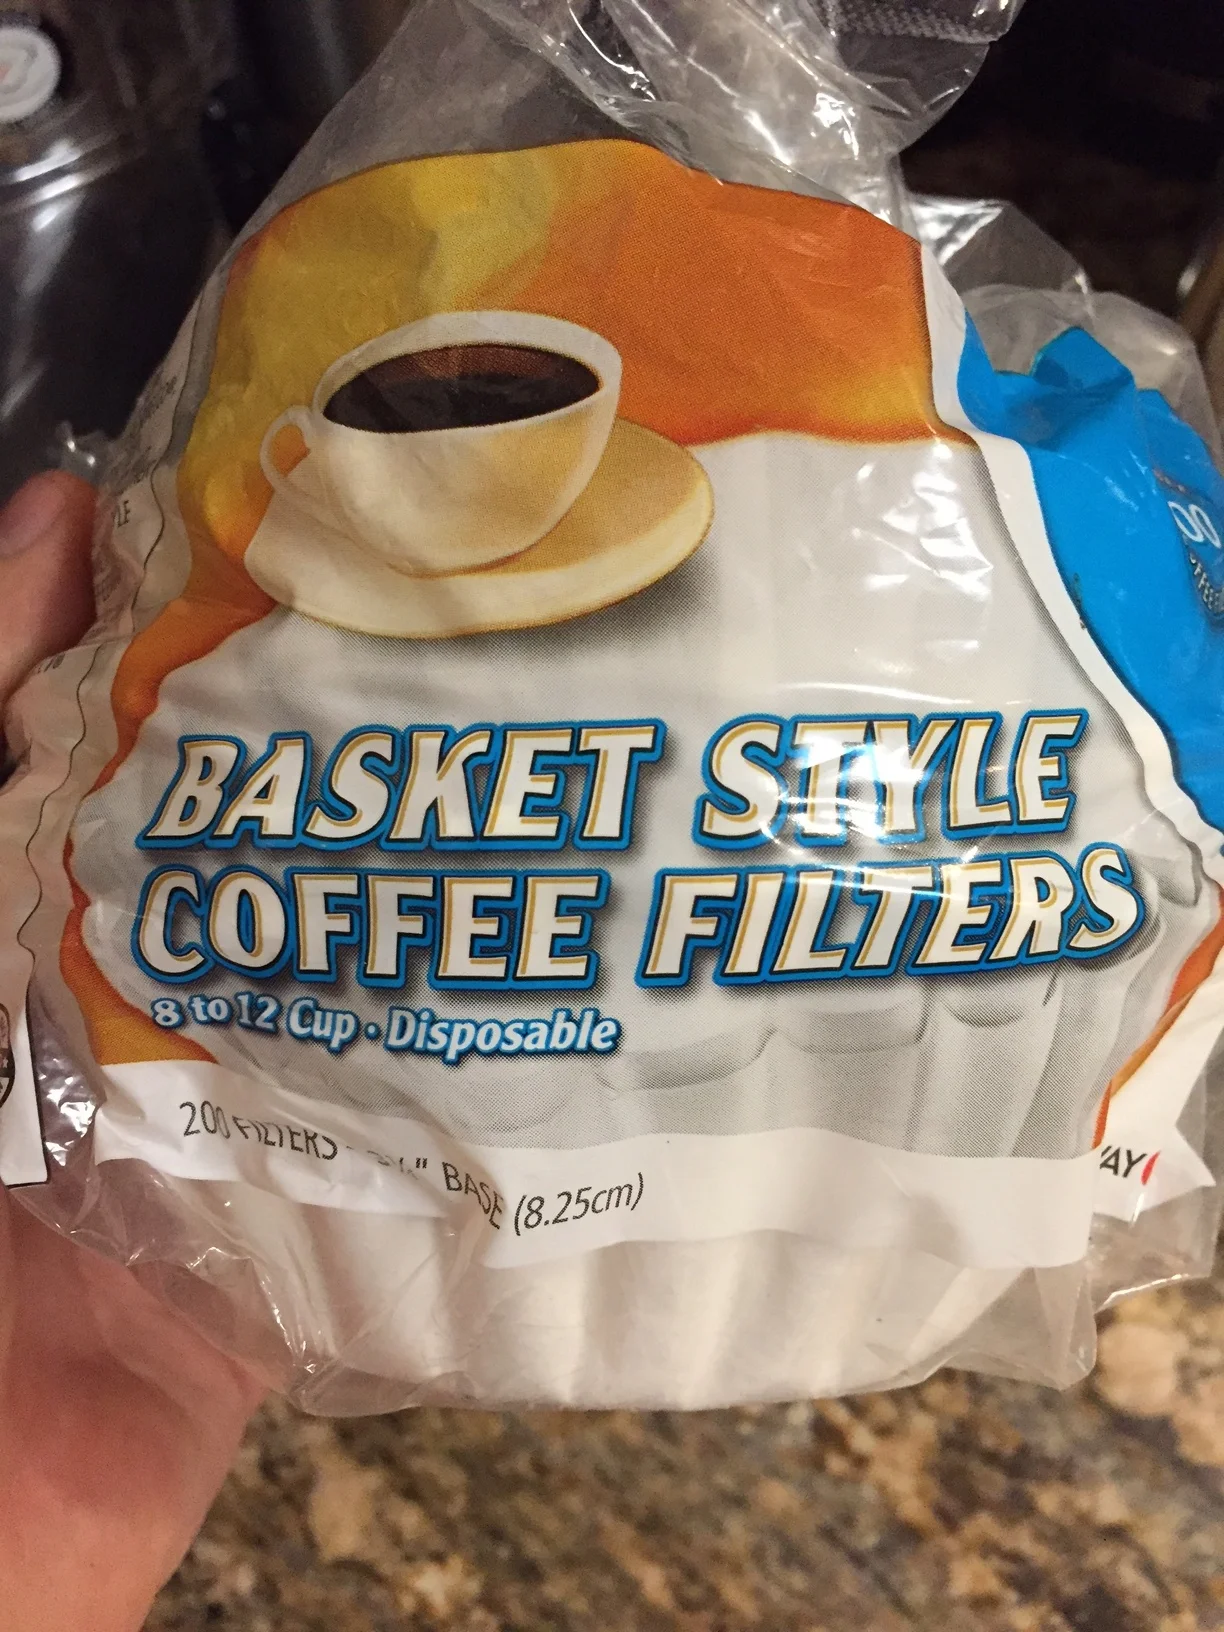
Generic paper filters.
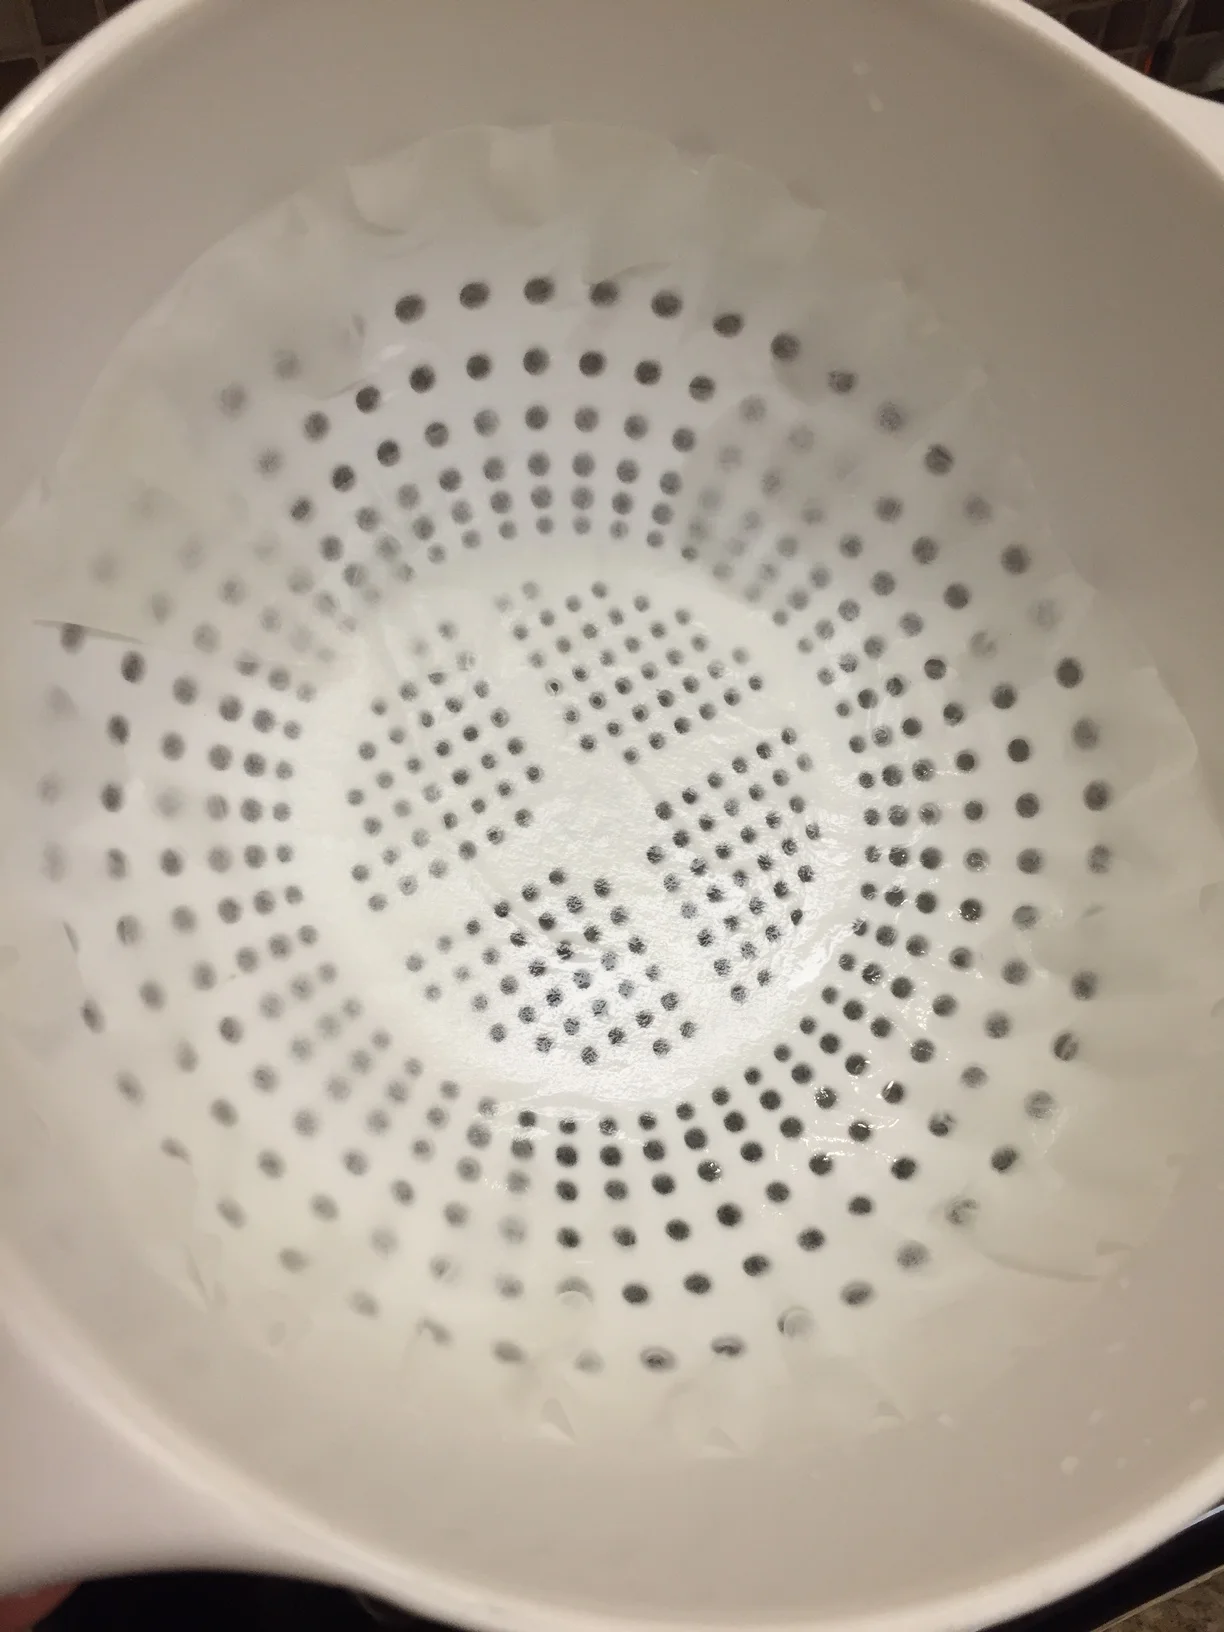
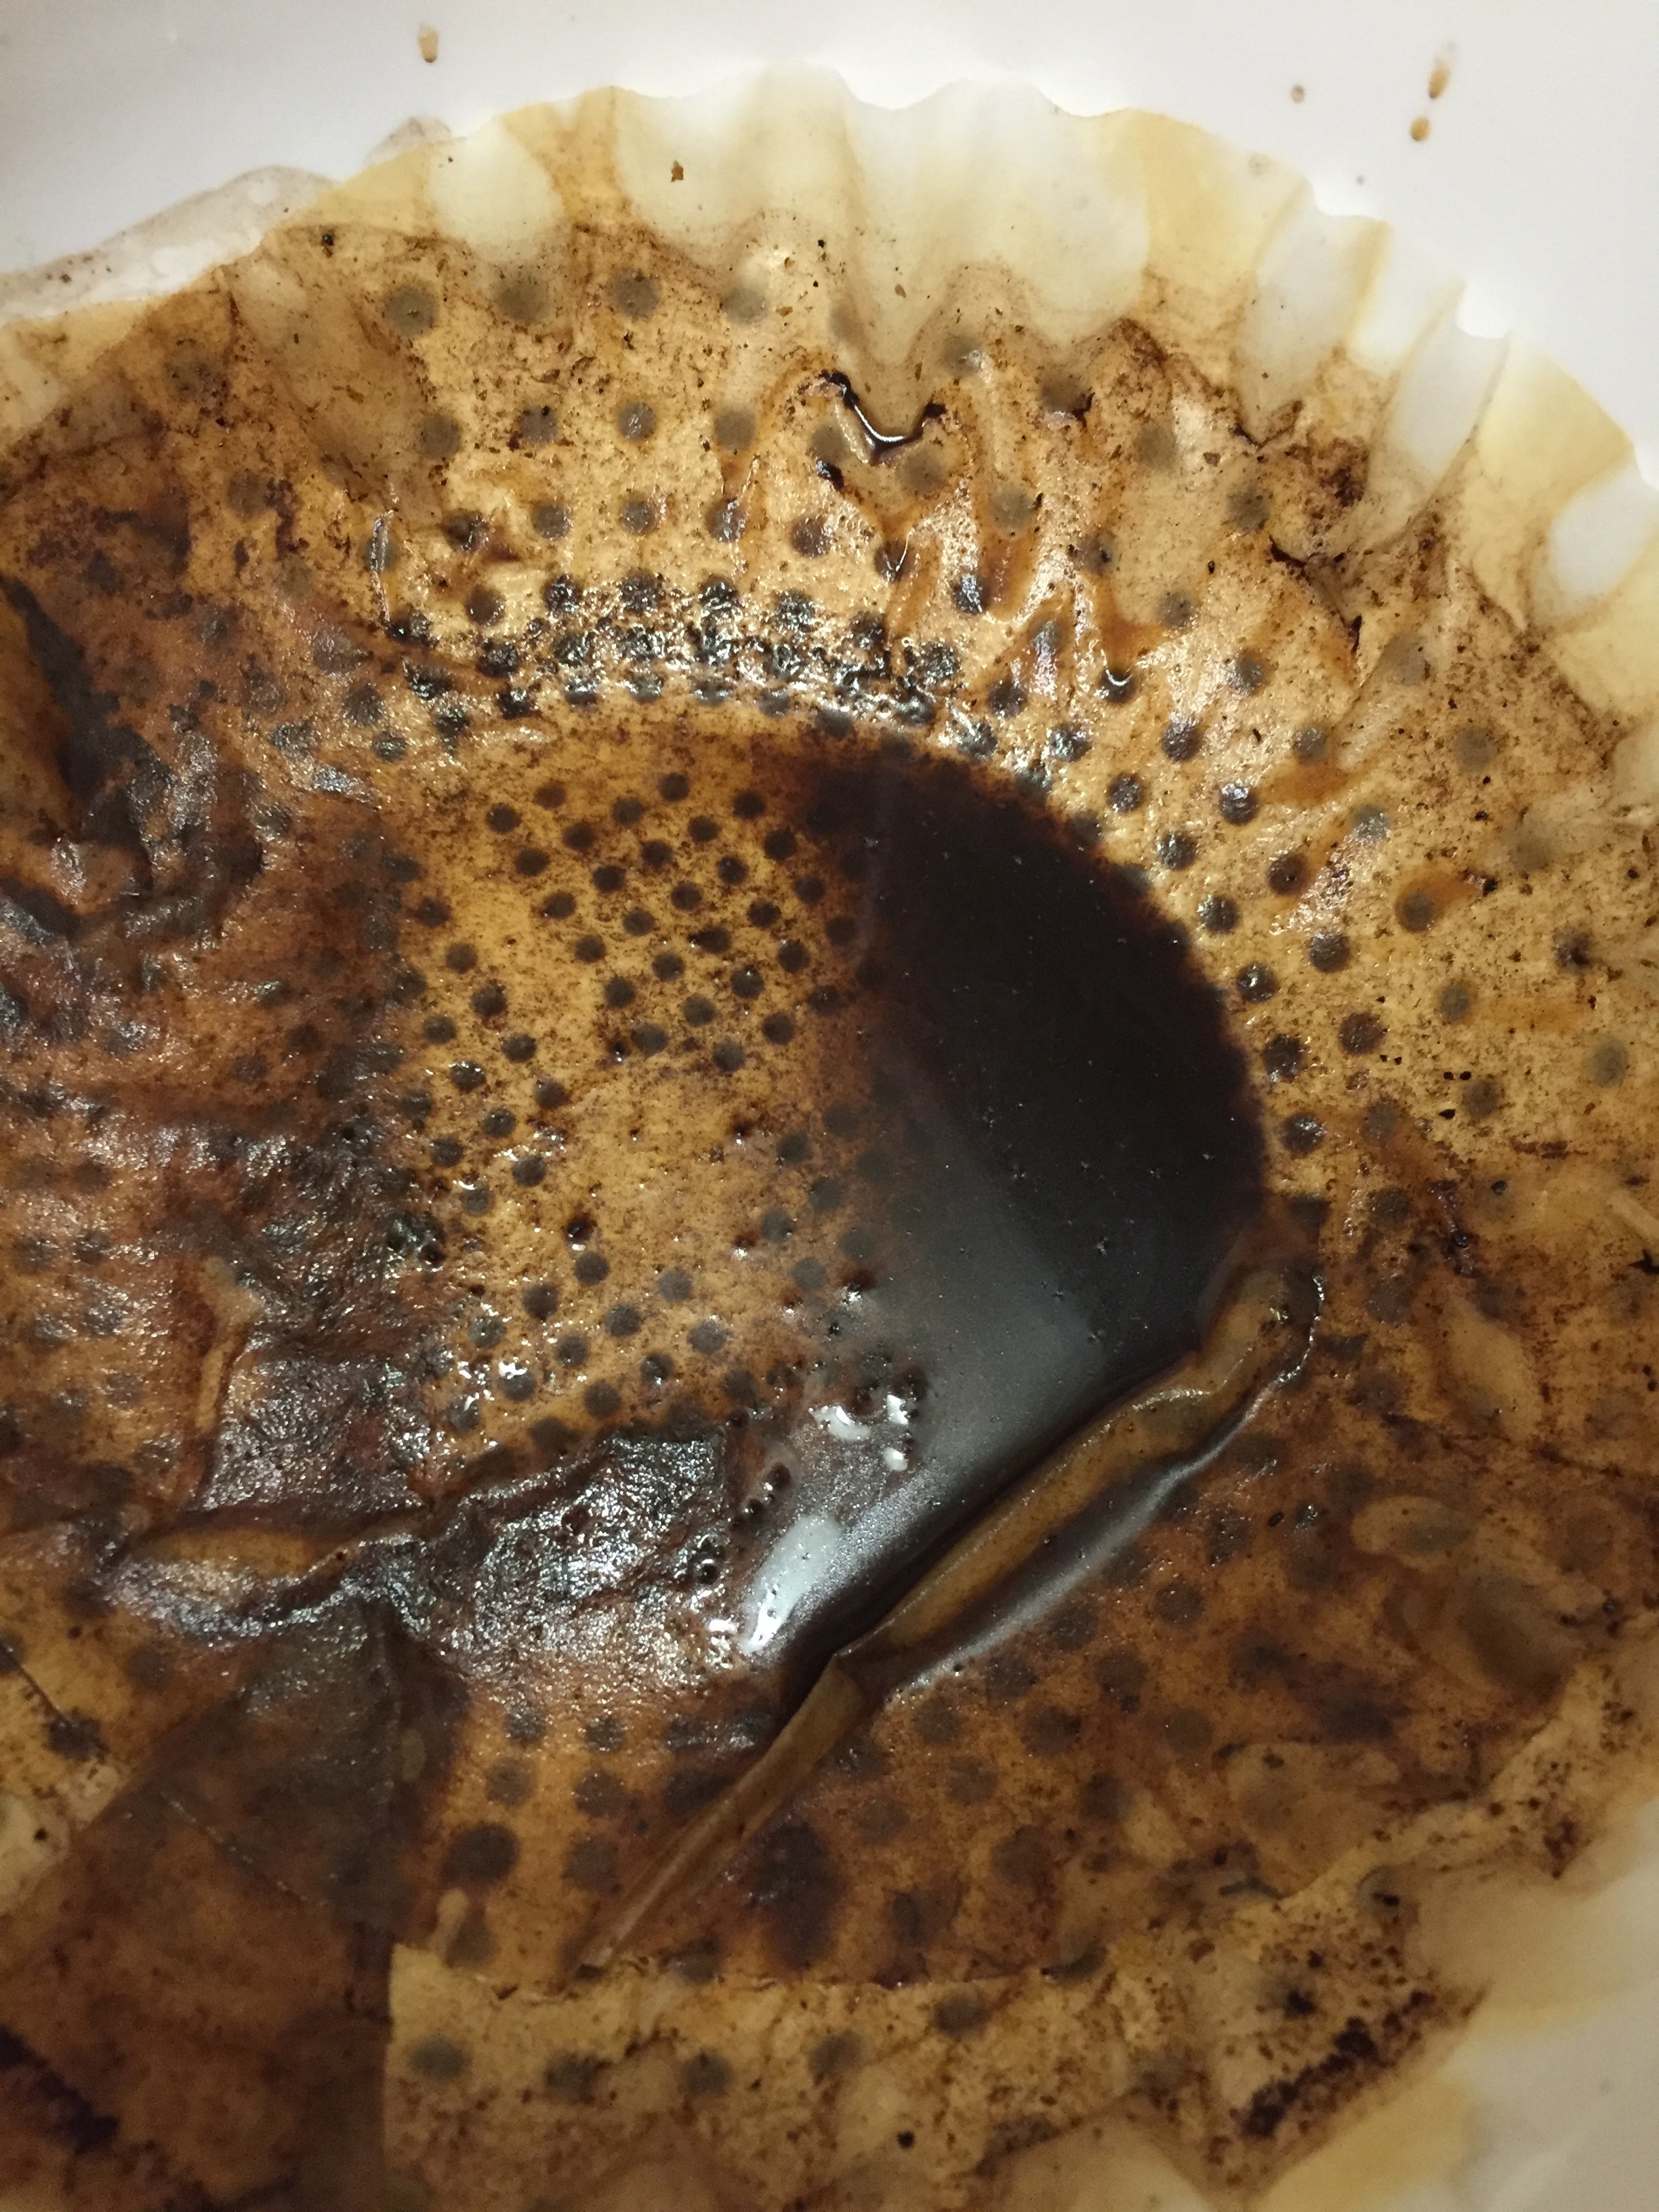
I use two filters, cutting one in half and butterflying it open to cover all the holes. Be sure to rinse the filters with clean water to remove the paper taste and so they don't absorb the coffee oils.
Filter the Coffee
This is really the hardest part, and not because it's difficult by any means, it's just time consuming. There are also a lot of different ways to approach this.
The first, and cleanest way, is to put the coffee grounds in a nut milk or straining bag when immersing in the water, so you simply just pull the bag out. I personally don't love this method because I'm skeptical the coffee towards the center will extract as much, and I just don't have nut milk bags lying around.
The second method would be to kind of skim the grounds off the top of the container when you're about to filter, to make the rest of the filtering go faster, and then filter it through a paper filter, or through a mesh strainer and then a paper filter. You could also forgo the skimming part and just strain the grounds through a mesh strainer first.
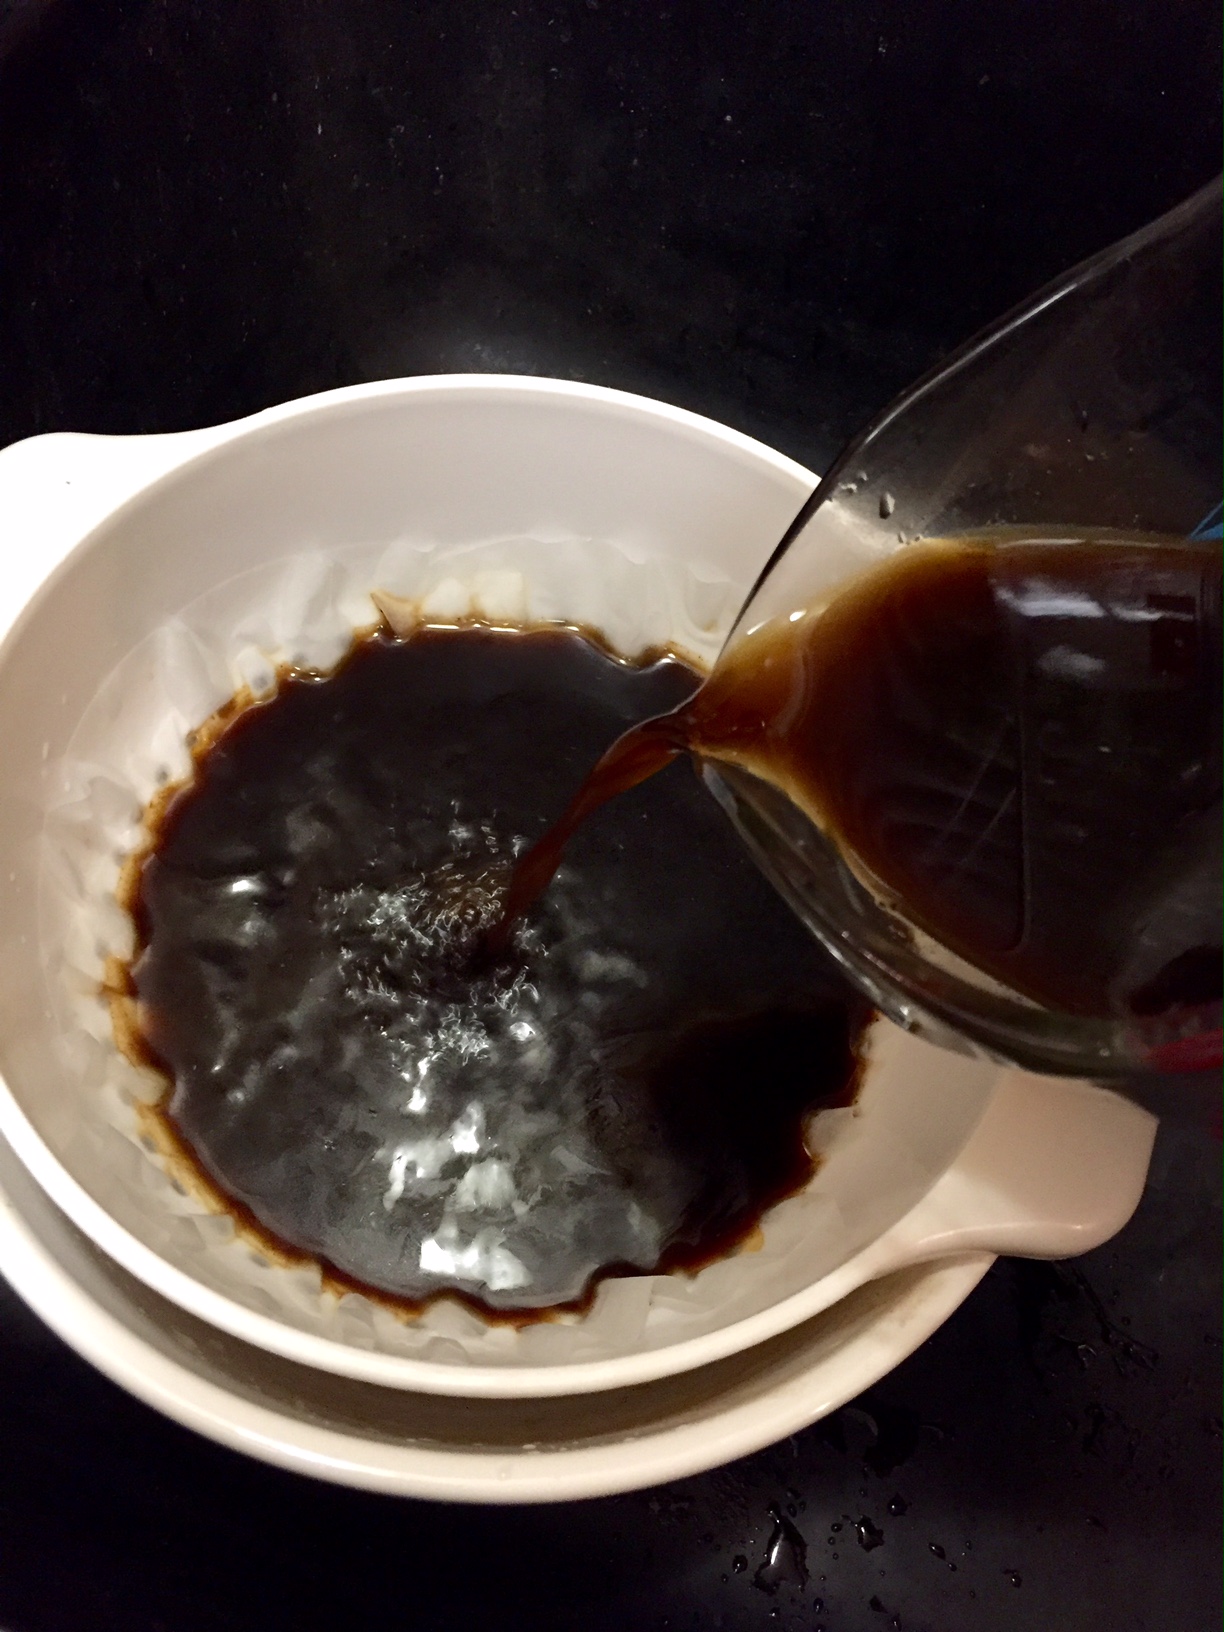
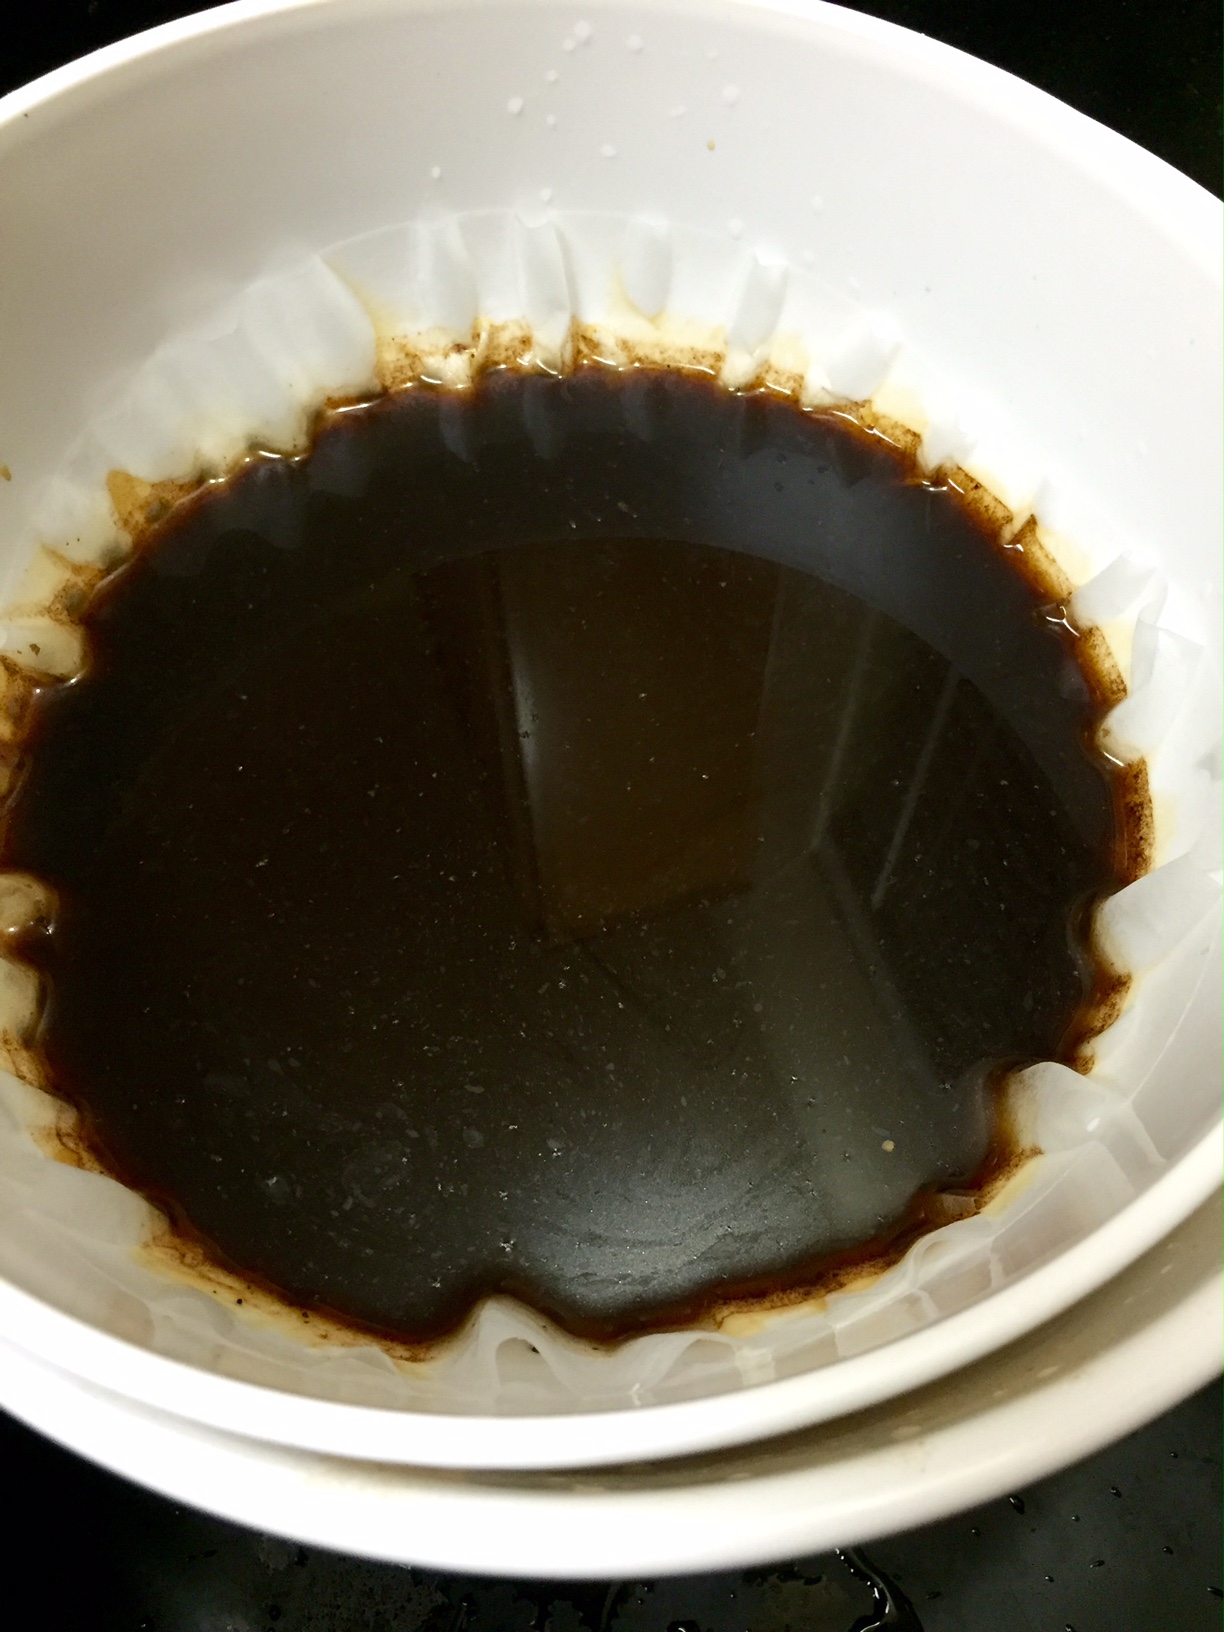
Another method, and one that I end up using after the skimming or straining anyways is to line a colander or pasta strainer with paper coffee filters, just the cheap basket style ones you can buy at any grocery store. Be sure to rise the filters first to remove any paper taste and so these filters don't absorb all of those coffee oils you want. This is the kind of tedious part, just because it can be slow, since the fines tend to clog up the paper filter and make the coffee just trickle through. Plus, I like to filter it two times for a cleaner cup with little to no grit or sludge. If you don't mind that, you can get creative or bypass these steps.
So I end up pouring the pitcher through the paper filter lined colander, letting it run out, squeezing out the remainder of the paper filter, cleaning that all up, lining it with paper filters again, and doing it once more.
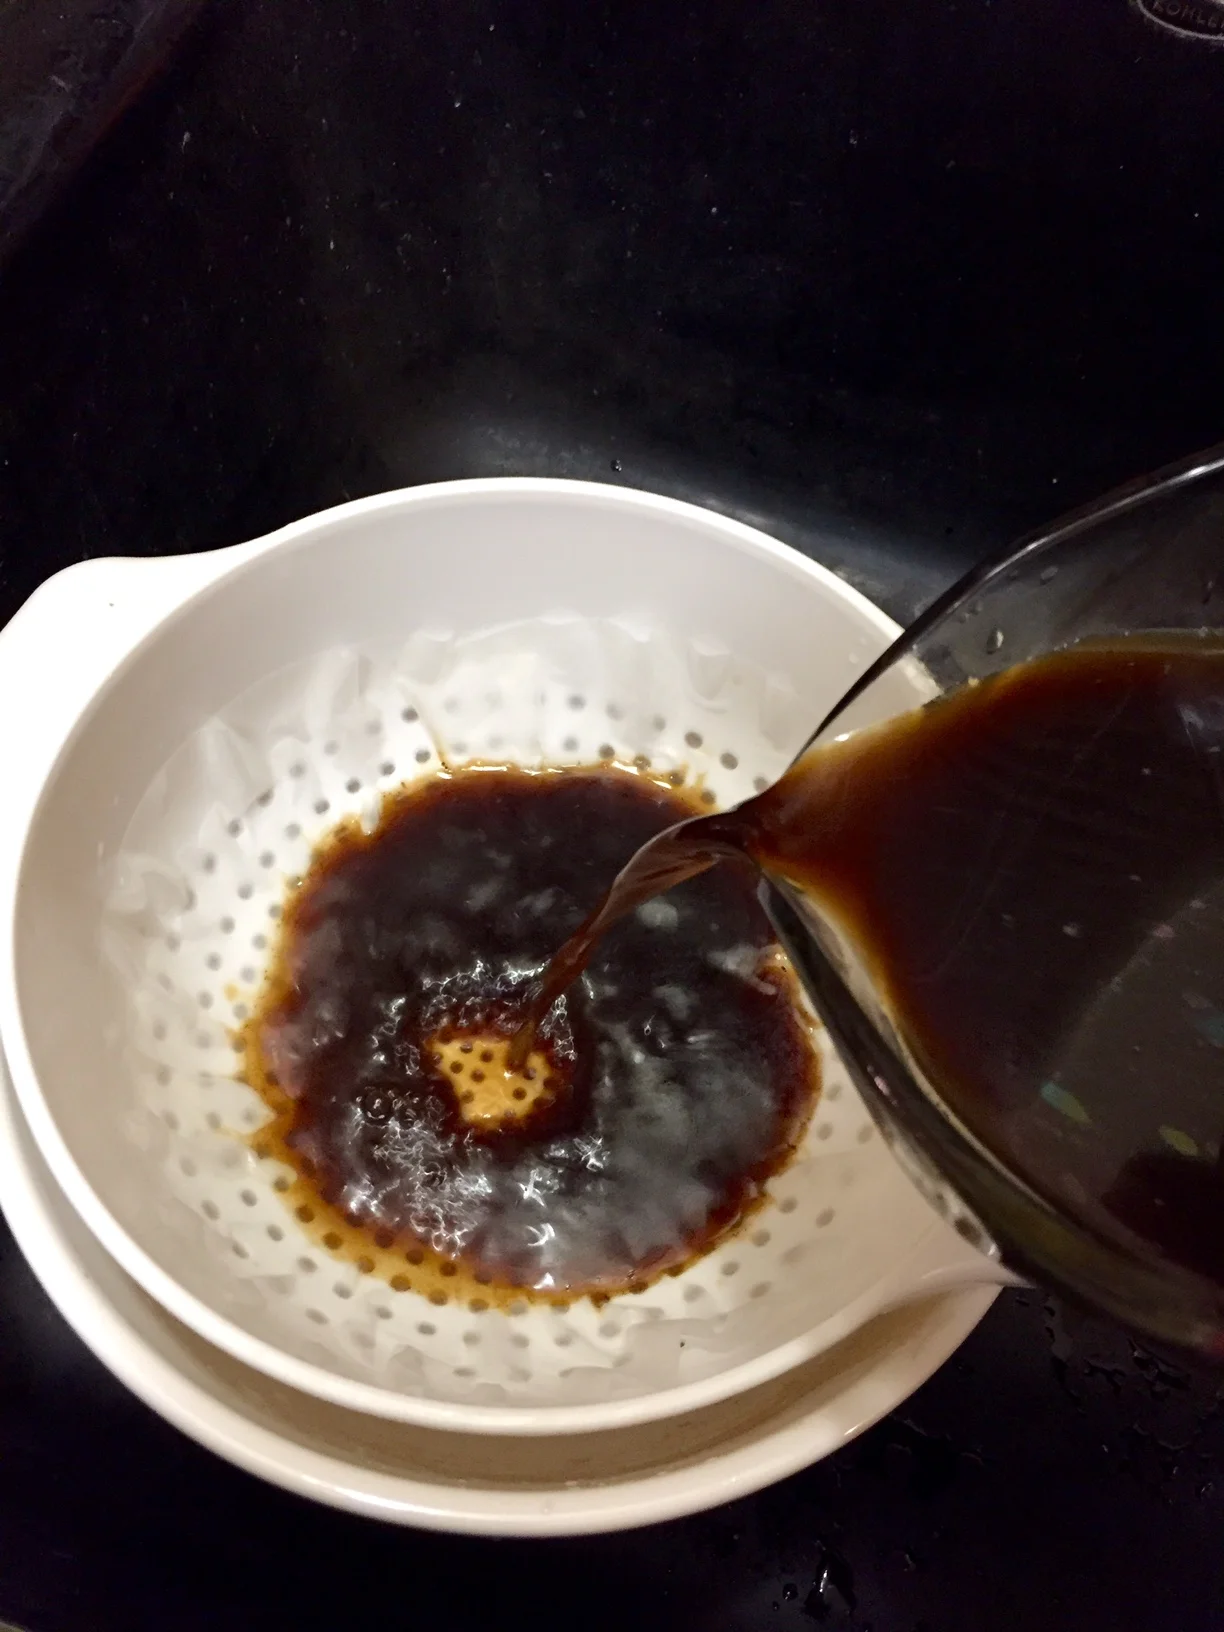
The first pass through the paper filter.
After that, voila! You've just made cold brewed coffee. Throw it in a mason jar to add that extra Pinterest-y touch, and to keep it fresh in the fridge. It will usually keep for 3-5 days before it starts to taste a bit stale. And don't be afraid to mix it up and try new things, it's incredibly versatile! Because it's concentrated, it works great for a quick pick me up, you can add sweetened condensed milk for a summertime treat, add it to a smoothie or a milkshake, or even freeze it in an ice cube tray. I also like to make a quick batch of simple syrup while I'm letting the coffee filter if you prefer a touch of sweetness. If you're sensitive to caffeine, just remember that you brewed this twice as strong as normal coffee. Although the caffeine doesn't extract quite as much as when brewed hot, it's still strong. This is mainly so the flavor holds up when diluted over ice and with milk or water, but just be careful to not start chugging away.
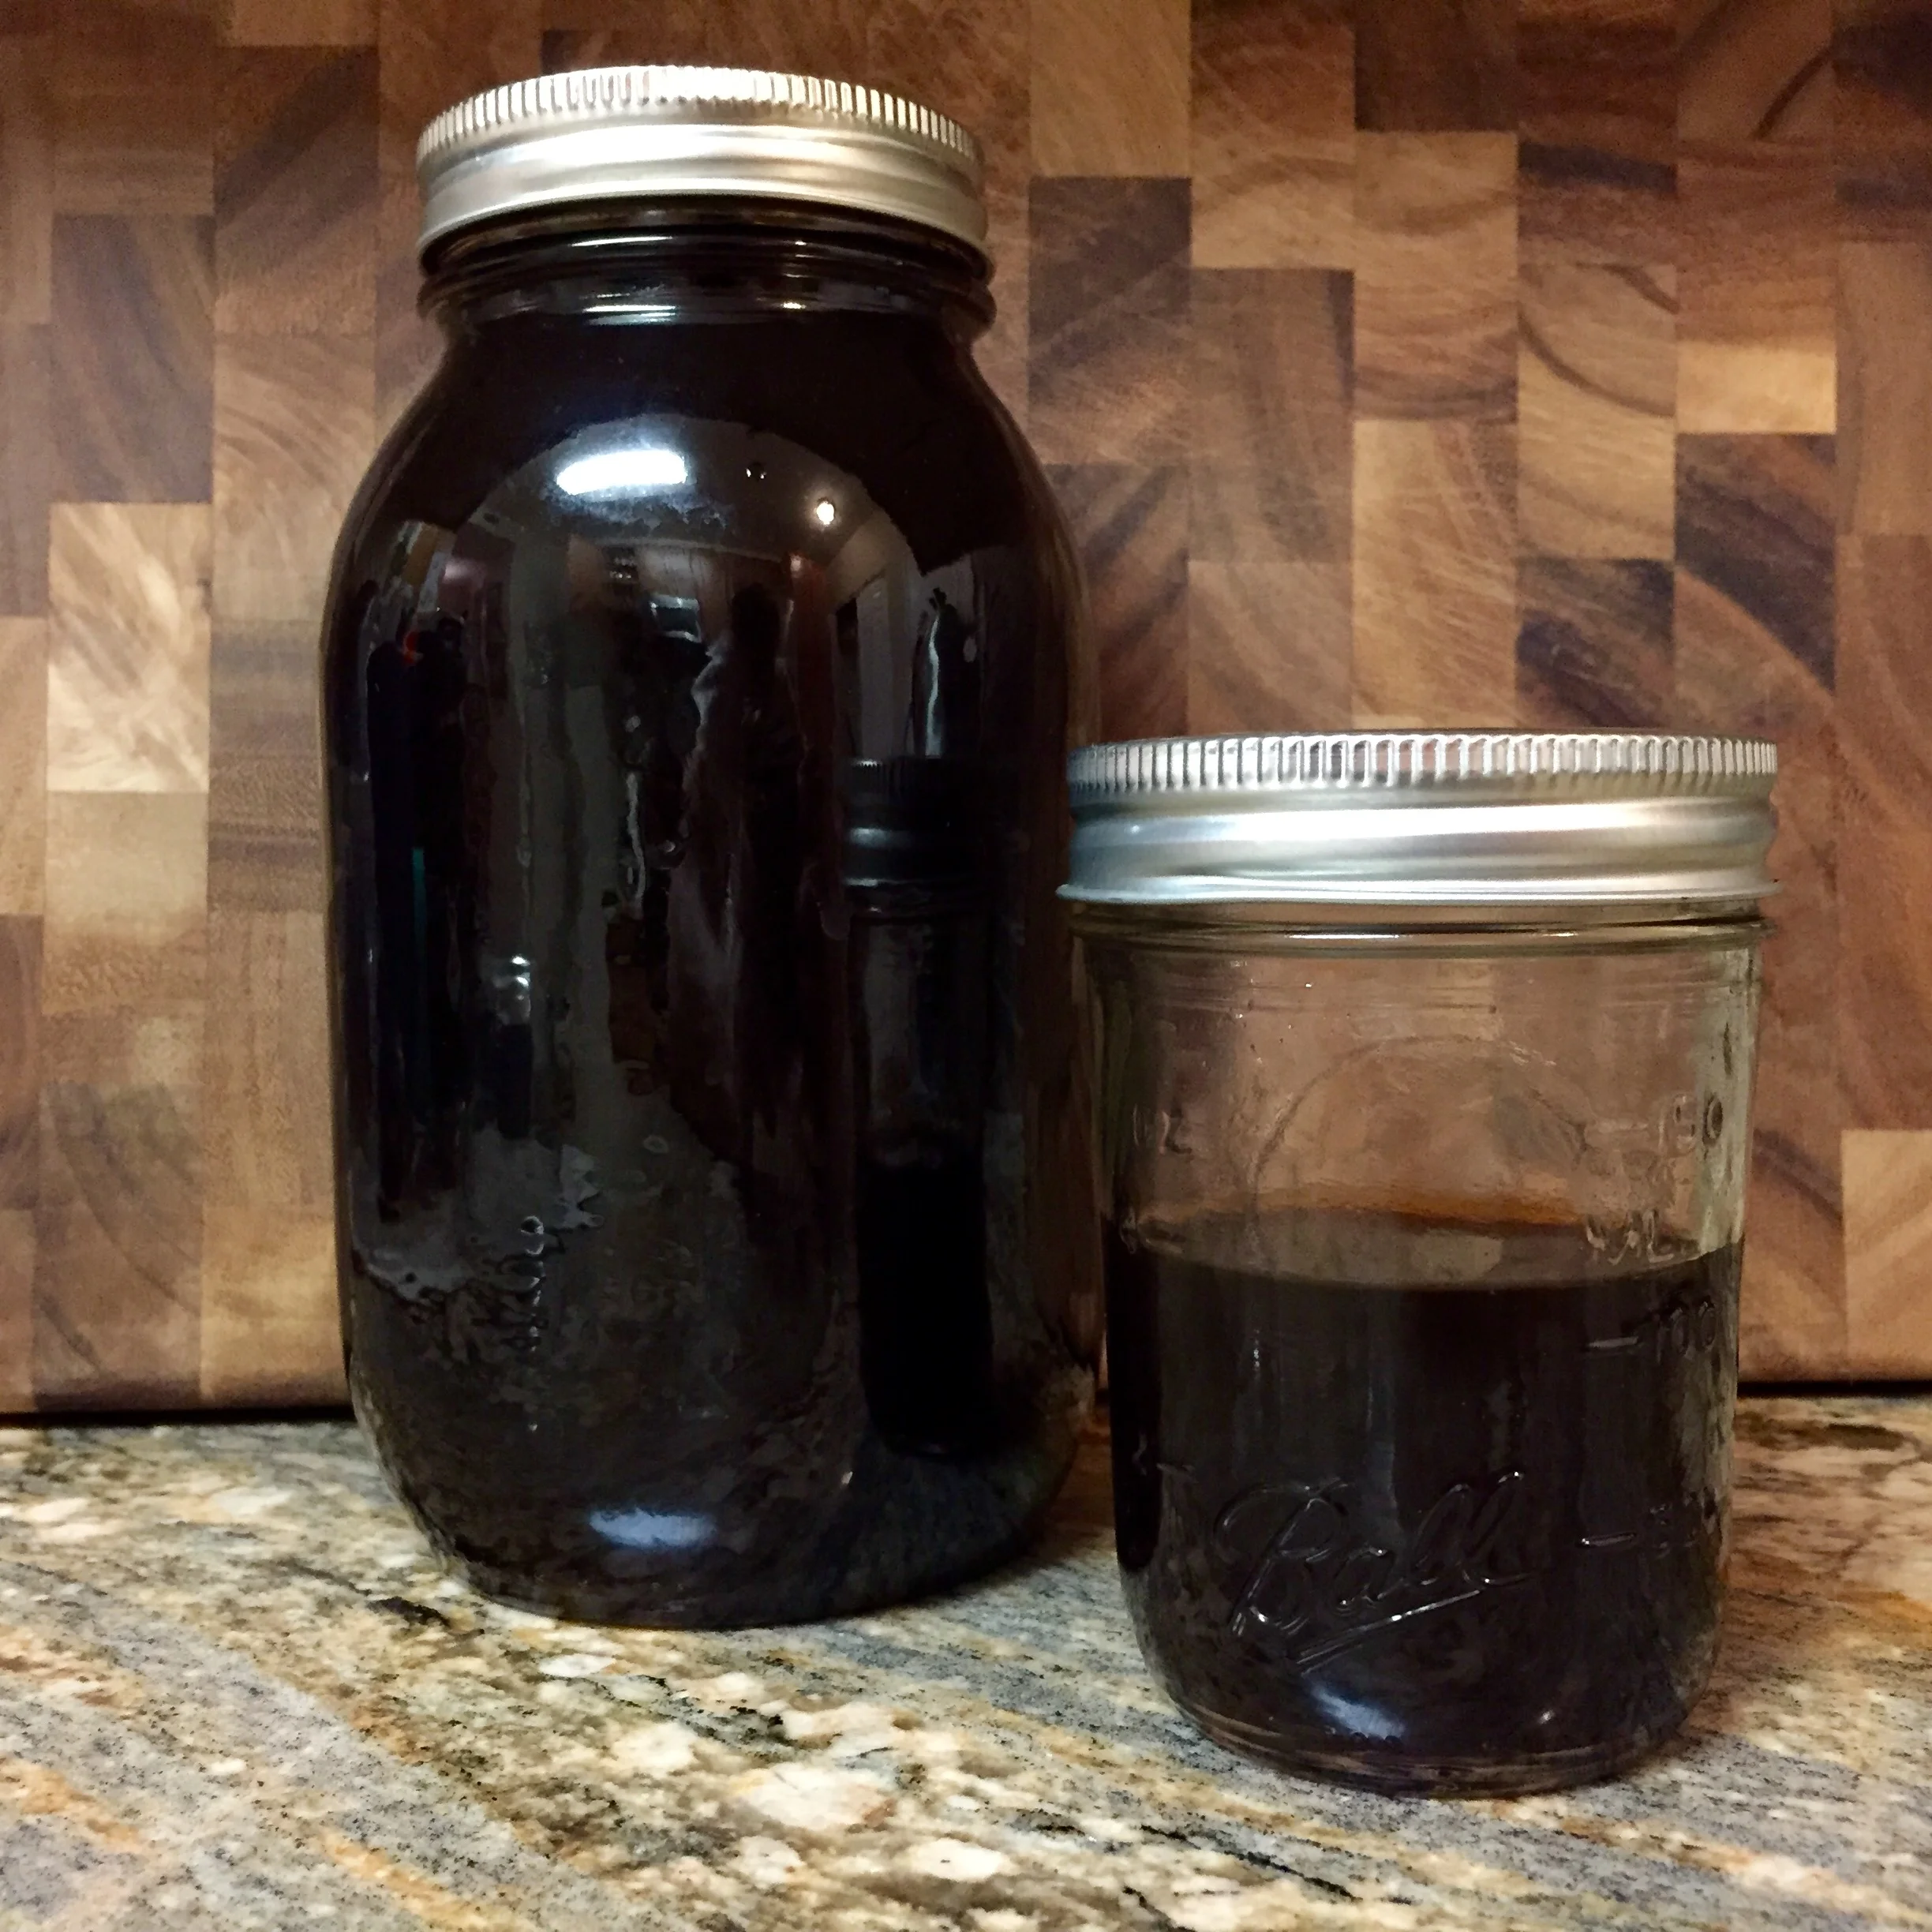
This batch produced a large and small canning jar. The little guy will be the perfect size with a little ice and milk.
For future brews, try experimenting with shorter or longer brewing times, brewing with the pitcher on the counter at room temperature vs in the fridge, higher or lower brewing ratios - you can really adjust it quite easily to your preferences. I hope you have have been able to see just how easy it is to make your own cold brewed coffee at home with little to no coffee specific equipment at all (other than paper filters). Look for a future post on how to brew iced coffee when you want to bring out those subtle flavors and acidity.
Until then, happy experimenting, and if you have any questions at all, don't hesitate to contact me.