Flair reached out to me a few months ago asking if I had considered adding any manual machines to “The (non-exhaustive) list of home espresso machines I would consider at various price points and why” post. I explained that I could, but try to only write about what I have direct first-hand experience with or feel confident and knowledgeable about, so it just hadn’t been an area of focus. They offered to send one for consideration for a deposit fee if I posted a write up on my experience with it. In the case with any product, I made clear of the expectation and any possible constraints around posting, explaining that since this site is a hobby and not a revenue stream, I try to stay as independent and honest in my reviews as possible. Upon working with them throughout my testing, I explained that I was not enjoying the unit, at which point, they refunded the deposit and said I was free to do as I wished. That is the full disclosure and backstory leading up to this post.
Given this long disclosure, I found myself very torn and conflicted while using the Flair Pro 2. On one hand, I love that it’s lowering the cost barrier to entry for espresso, and doing so in a very nice, portable package. On the other, I found using it to provide more frustration than satisfaction, which makes it difficult to write. So, let’s dive into those two sides a little deeper and I’ll explain the pros and cons of the Flair Pro 2, as I found them, and who might be the right candidate to purchase.
Unboxing and Basics

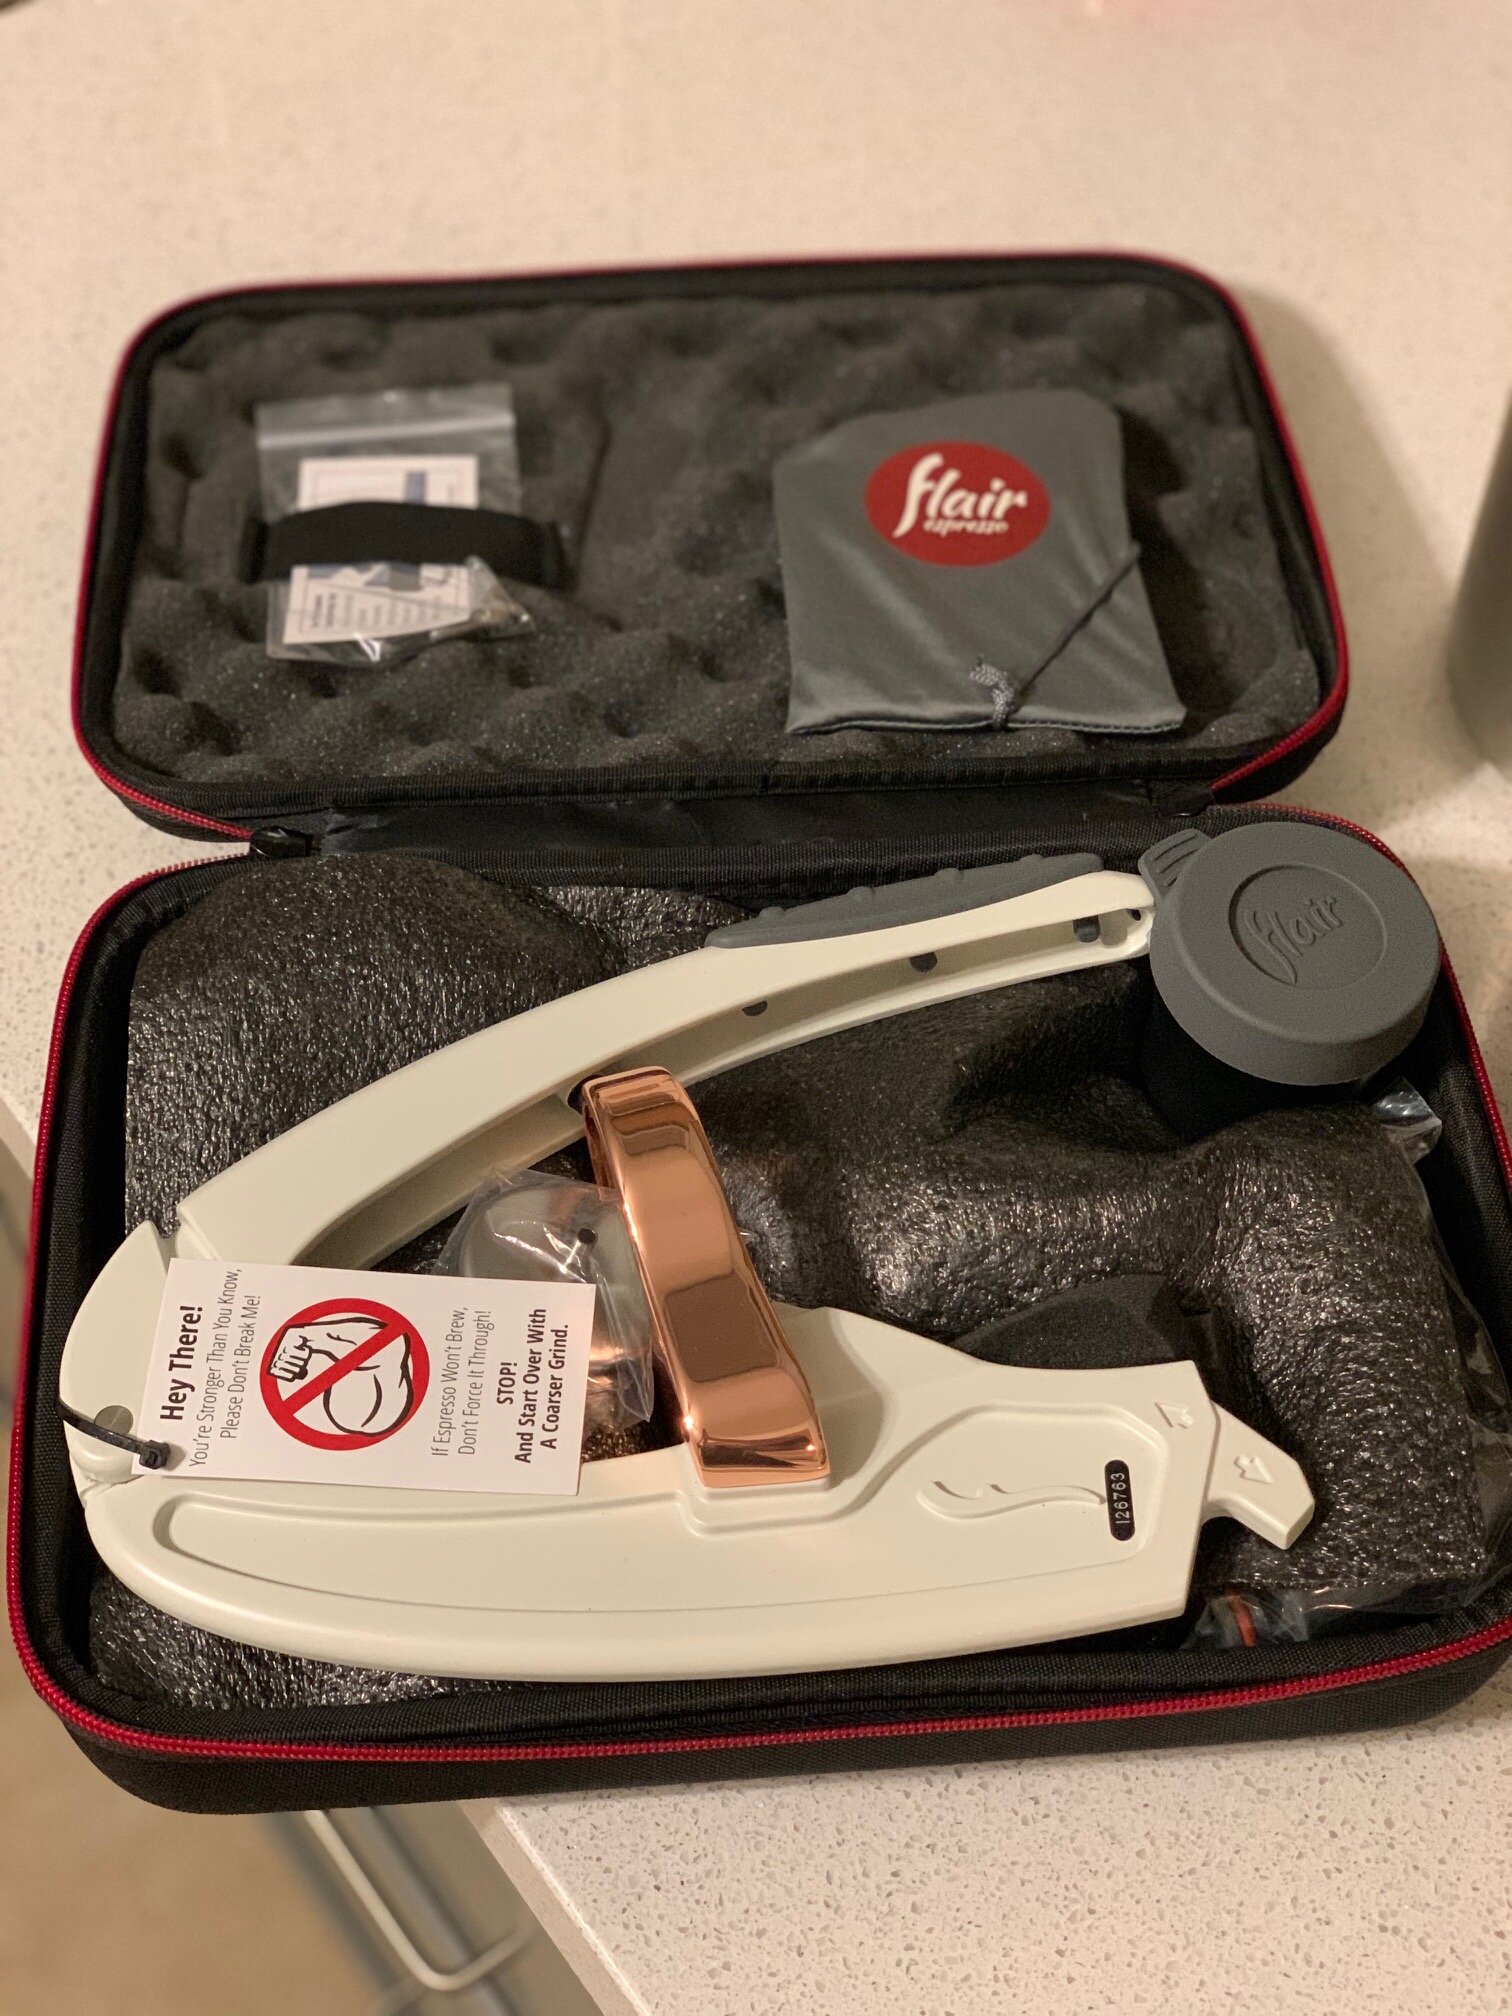
First, the Flair Pro 2 absolutely kills it in the packaging game. The outer cardboard box is even thoughtful enough to let the very high quality travel case’s handle come through. The travel case is well made, robust, and doesn’t cut any corners, as so many cases do for various things in life. It’s kind of that formed rigid, but padded case like Oakley sunglasses used to (or maybe still do?) come in, with nice zippers, a well made handle and great padding inside.
There are a fair number of components to where it can be a touch intimidating unboxing and setting up for the first time, but once you do it it’s pretty straight forward, quick and simple to setup. The Flair was designed with portability in mind, so some of the decisions, like the coffee chamber sizing, were because of that, and they make it very clear they feel a machine with a traditional 58mm basket may outperform for shot quality, but maintain the design is easy to use, and portable, which nothing else in this class is (other than a Mypressi Twist, which I’m going to omit for purposes of consideration).
Usage

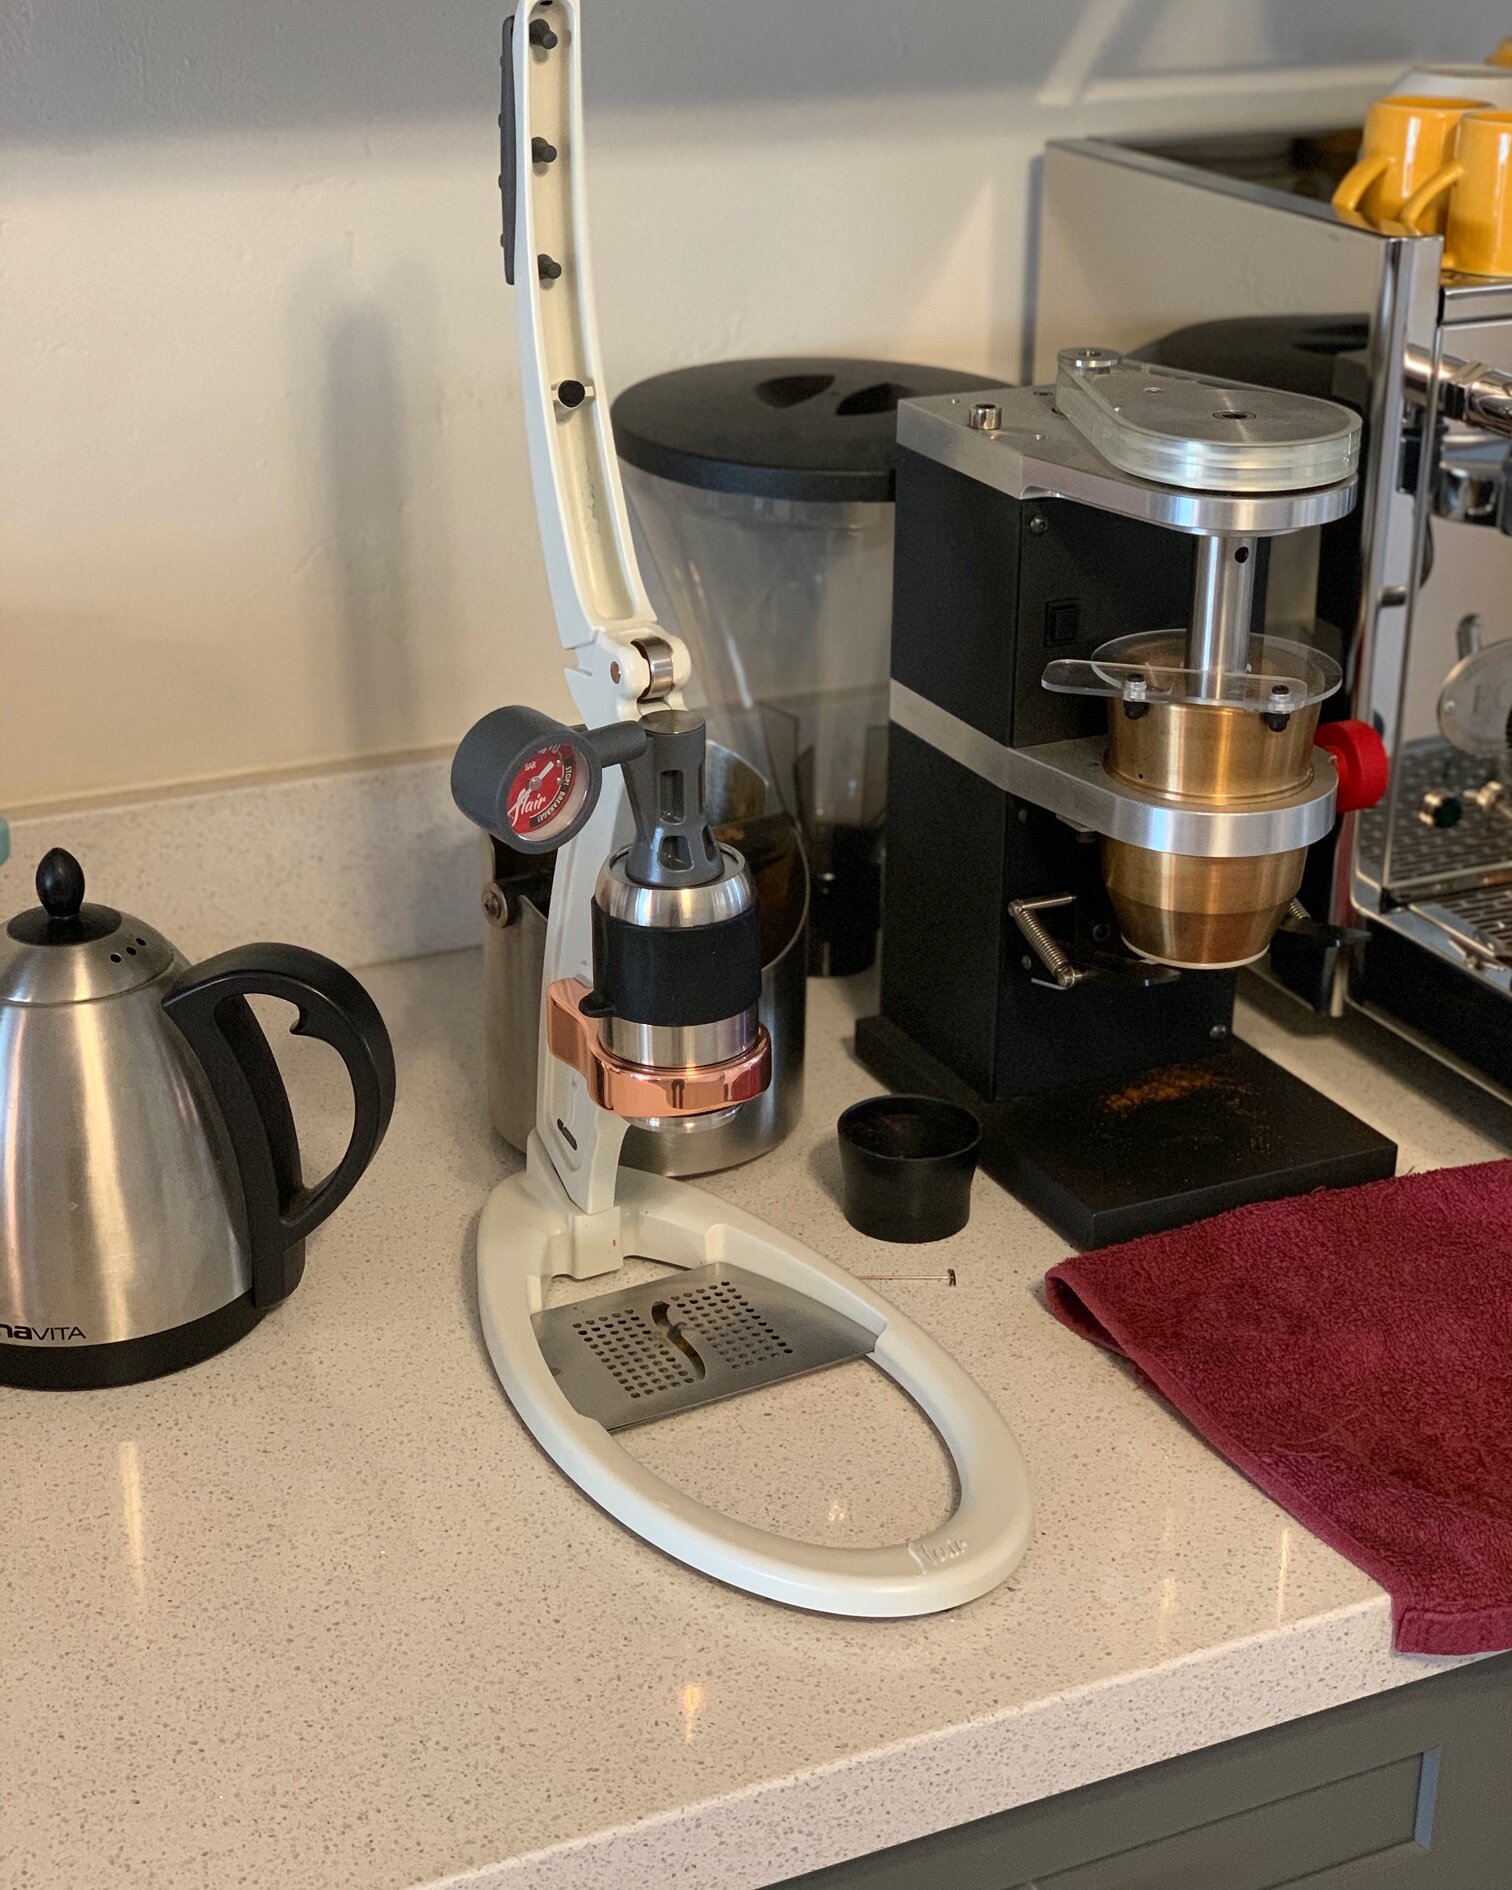
Placing the water head over the vent holes on your hot water kettle did seem to get the unit up to be temp pretty well.
Because the Flair does have a lot of parts, I find it best to try and get everything staged and ready to assemble to make the workflow smoother. It is highly recommended (essential) to preheat the brew head, and they include a nice rubber cap to fill it with water, but recommend you actually place it over the vent holes of the kettle and let the steam heat it up. This seemed counter intuitive to me, assuming filling the brew head with boiling water and letting sit would absolutely get it hotter than just steam venting from the kettle heating, but Flair maintains the kinetic energy of steam is higher and get the unit hotter. The steam method did seem to produce shots with more crema, so perhaps that’s true, but more on that later.
The funnel and accessories are well made and a nice tough they’re included.
While the brew head and your brew water are heating, you can grind the coffee. I chose to grind directly into the portafilter, using the included funnel, which is a nice touch. A cup is also included for dosing and I’ve even seen mention of using the bottom of the cup to tamp, but I never really figured the cup out - it’s fairly tall and narrow, and the funnel cannot be used to fill it, so unless you have a tight grinder exit chute where the portafilter with funnel cannot fit, I don’t see it getting a ton of use. A nice metal tamper is included, and where I ran into what I found to be the biggest design flaw of the machine.
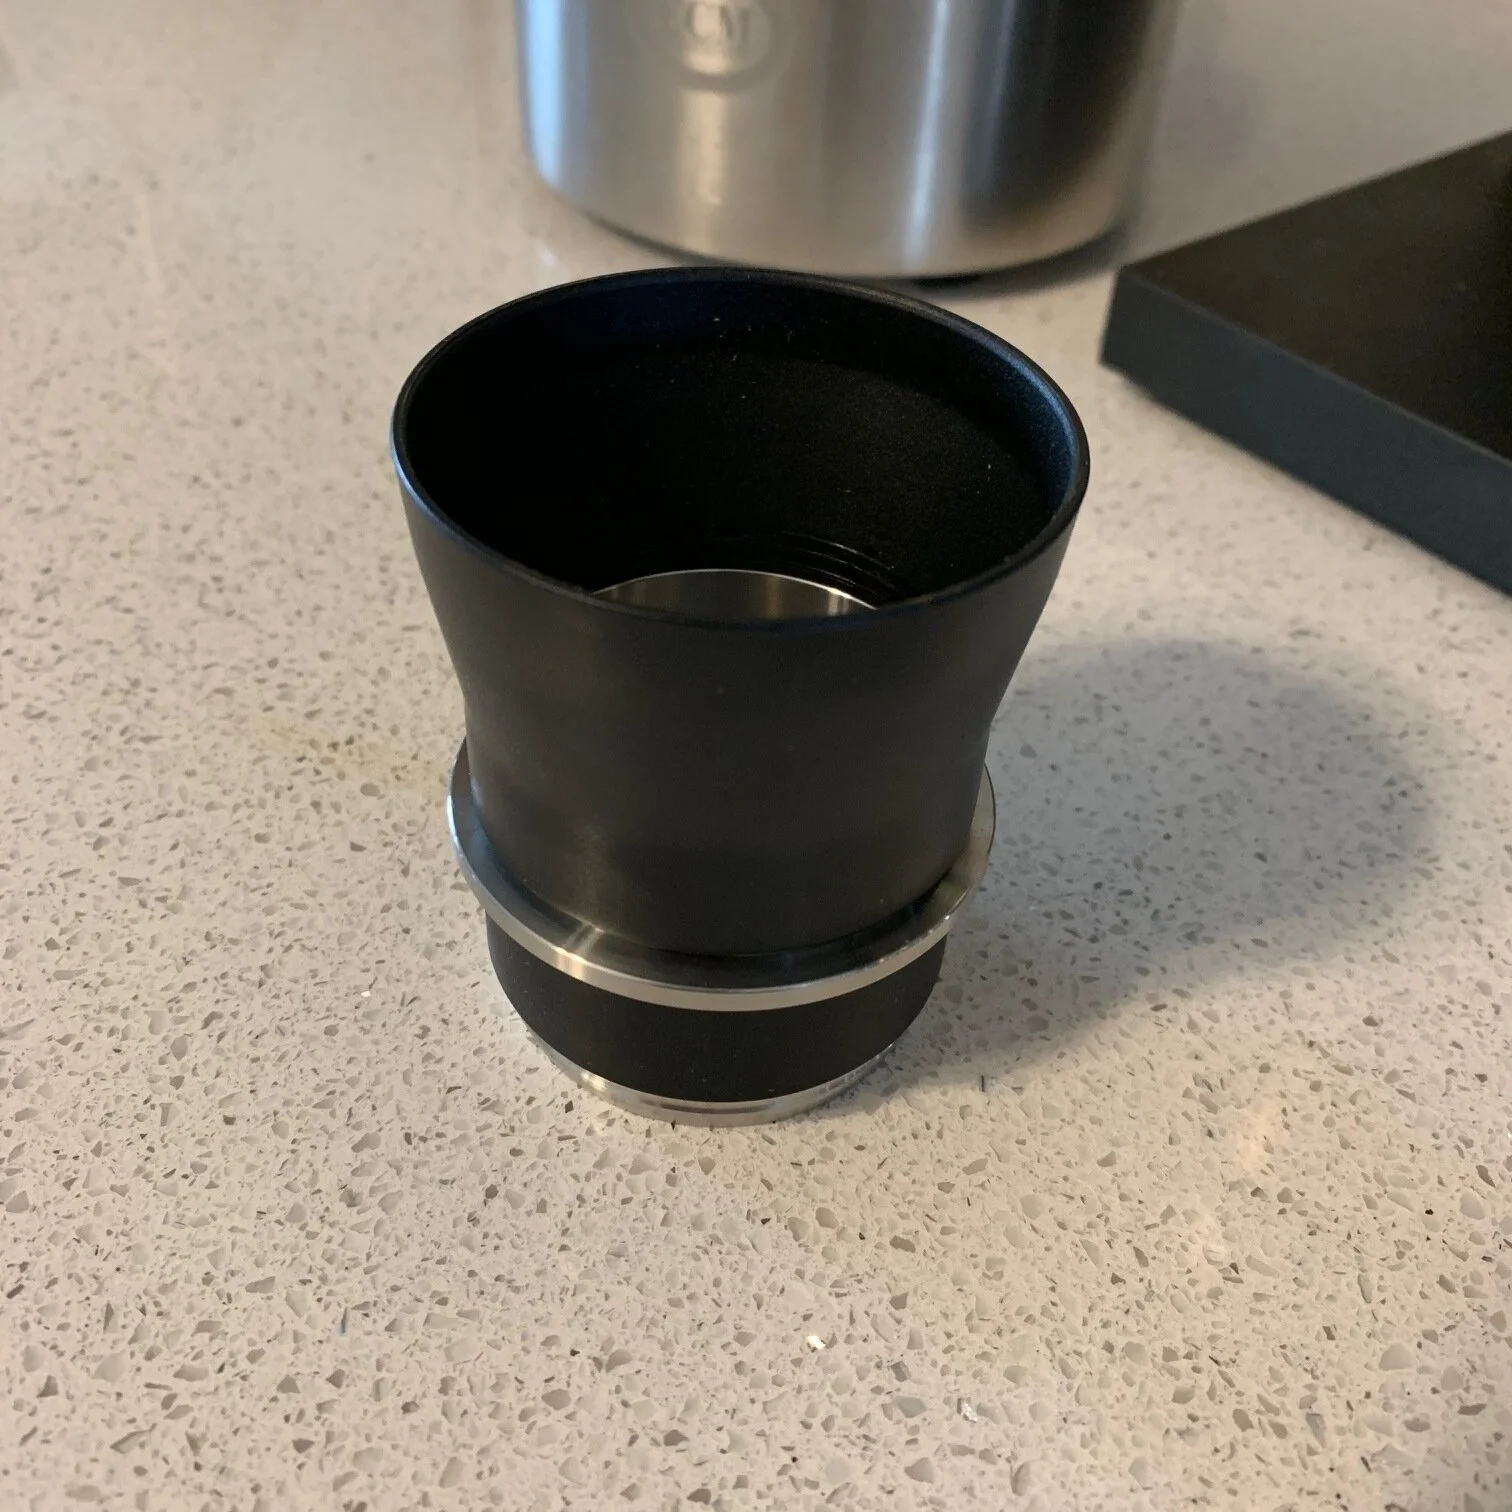
The user manual recommends dosing between 16-20g of coffee, so I started at 18 grams and the tamper didn’t reach to compress the full dose, since the walls of the portafilter basket / coffee chamber are tapered, causing the tamper to bind when doing past a certain depth. This is the single biggest design flaw of the Flair, in my opinion.
Because the basket is tapered, you now introduce another variable to the already complex mix of making espresso - volume of the coffee.
So, not only do you have to dial in the machine by dose weight and grind fineness, the two typical variables, you also have to consider how voluminous that particular coffee is at a given dose and grind setting, making it far more difficult to dial in by adjusting dose or grind independently since both can effect the volume of the coffee bed, which effects how much the coffee is tamped by the tamper. Different coffees also have different volumes based on their density and fluffiness. If you’re used to using a traditional espresso machine, you will be familiar with how 18 grams of one coffee may overflow a basket where 18 grams of another may leave a ton of headspace. And as you add or remove coffee, you may need to adjust the grind fineness as well.


As someone that pays close attention to dialing in espresso, this made the task with the Flair extremely challenging: I almost could not adjust one variable at a time, and it was often easy to choke the machine or produce gushers with what felt like only a small window for a good shot in between. Now, if you only use one kind of coffee, or always use a similar blend, this may not be as big of an issue, but for someone that is typically rotating through various light roast single origins and blends of different processing methods, I found the tapered sidewall design to be the biggest design flaw with the Flair.
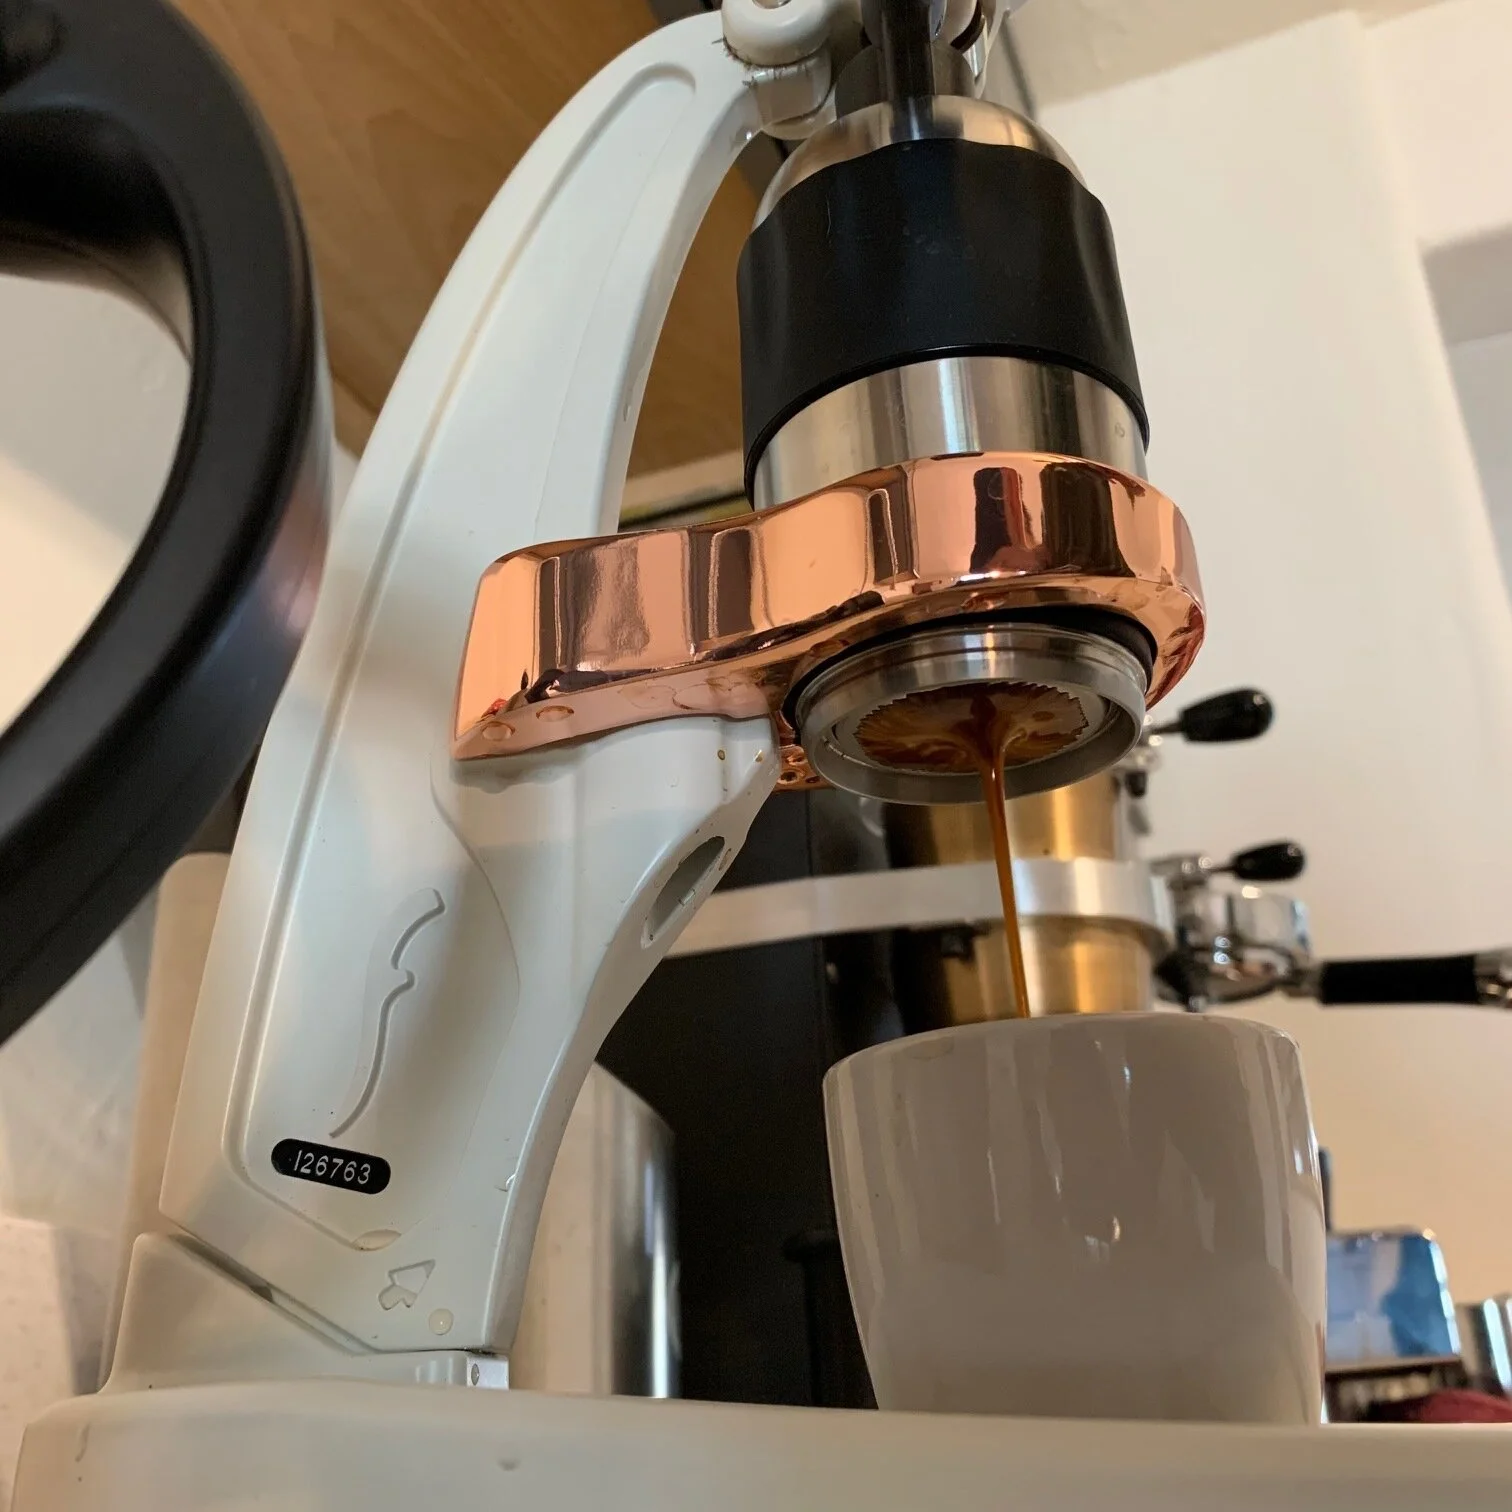
Moving past the dose and basket design, once you’ve lightly tamped the coffee, you add the screen, the brew chamber, hot water, and gauge, load it up and pull…hard. I found the most natural method to kind of do the lazy lean into it with your upper body method, like many do with the aeropress, but the downside to it is you need a mirror to see if your extractions are even or when you reach the blonding point. Another method used was kind of squatting down, and pulling down on the lever from overhead, which I’m sure looks funny, but allows me to see the extraction, easily see the gauge, and still use my body weight to manage. The downside to this is I found the base was a bit more tippy or wobbly laterally.

A pic snapped from underneath while mid pull (down) was not an easy feat!
If your dose, grind, and basket depth are dialed in, it’s a lot of fun to use and directly manipulate the pressure profile throughout the shot. There’s something really satisfying of having that much control and doing the work on your own, especially if you pull a nice, even shot. The other big difference as compared to something like an Aeropress, is that you’re making actual, true espresso. And for this, I do love the Flair, it’s directly lowering the high cost barrier to entry with espresso*. I put an asterisk there because it is lowering the cost barrier to espresso on the machine side, but does still require a good grinder.
I did my tests using a Versalab M4 and a Feldgrind, both very high quality grinders that produce very consistent grinds. Because the basket is tall or deep and narrow, I feel grind consistency is potentially even more important that with a wider, traditional 58mm basket. I fear that many purchasers of the Flair may be approaching it from the low cost side, and approaching their grinder from the same way. The (unfortunate) truth of the grinder being more important to making good espresso than the machine, does remain.
Results
The fact that you can really make espresso anywhere you can get hot water is awesome. And the ability to manipulate the profile of the shot to your liking is also great considering most low and mid tier espresso machines don’t have preinfusion or pressure profiling capabilities. So when you have it dialed in, you can make really tasty espresso, and tasty espresso is what we’re after.

I did find the Flair produced shots with a thinner body and less crema than with a pump machine. This was across multiple coffees, grinders, and keeping profiles the same or different. This isn’t necessarily good or bad, but when comparing the coffees I used, the Flair consistently produced shots that had a thinner mouthfeel and less crema than with my pump machine. For what it’s worth, the Cafelat Robot also had this finding. Flair maintains that getting the unit better preheated and temperature stable mitigates this, and I found that to maybe be true, where getting the brew group hotter produced shots with more crema, though it still was thinner than with a pump machine.
Final Thoughts

As initially stated, I’m left conflicted with the Flair Pro 2. I love that it’s intended to be portable and I love that it’s making espresso accessible at a lower price point. In practice though, I personally found the Flair to be more work and more frustrating than enjoyable to use. Yes, I am fortunate enough to have a pump machine on my counter, but what went from an exciting fun thing to mess around with became something that was starting to get over-complicated to pull shots of the quality I was seeking, and too finicky to use.
Over complicated by the dosing and grind fineness, but also the pages and pages of discussion online about how best to get it temp stable and the extra steps needed to get the most from it. And maybe, if you’re really on a budget or young and this is your first machine, those workarounds are worth it. But for me, this would be a machine to use for fun or for when travelling, when I’m looking to reduce complications and increase the fun factor, not the other way around. And even when I put myself in the shoes of the person that this is the machine they can afford, because I’ve been there, I asked myself if I would rather use this or buy a refurbished Gaggia Classic, like I did for my first machine, and that was a hard question to answer. The Gaggia Classic needs some modifications out of the box, but once you do those, you can really make some excellent espresso. Whereas if you have any desire for portability and don’t want to tinker with the machine, the Flair is cheaper and more portable.
I also tried to keep the portability factor in mind, knowing that if certain concessions were made to increase portability, I should be more forgiving. But, although the Flair packs up beautifully, it’s heavy, and if I’m going to travel, I’m reaching for my Aeropress, it’s lighter, cheaper, easier to use, and more forgiving of lower temperature water. If you were travelling, you could ask a restaurant, flight attendant, or Starbucks for a cup of hot water; without a need to preheat everything.
Who Should Buy the Flair Espresso Maker?
I think if you typically use the same coffee, and/or use medium to dark roasts and blends, the Flair would be much more user friendly, and the reduced crema and dose volume will not be as big of an issue. I also think if you’re the type the doesn’t like Aeropress coffee and/or wants to make espresso and have this trick up your sleeve, it’s also a good buy.
I do think you can skip the Pro 2 model and save some money. I could do with or without the pressure gauge, and didn’t find the larger water reservoir necessary, as I could easily pull shots with 42 -45 gram yield without using all the water in the brew chamber.
I do want to say thank you to the folks at Flair. They were so good, nice, transparent, and understanding to work with, I felt very torn as to if I should even write this, since I’d generally prefer to abstain from writing anything somewhat negative, but ultimately received enough requests and questions that I felt it potentially helpful to the community.
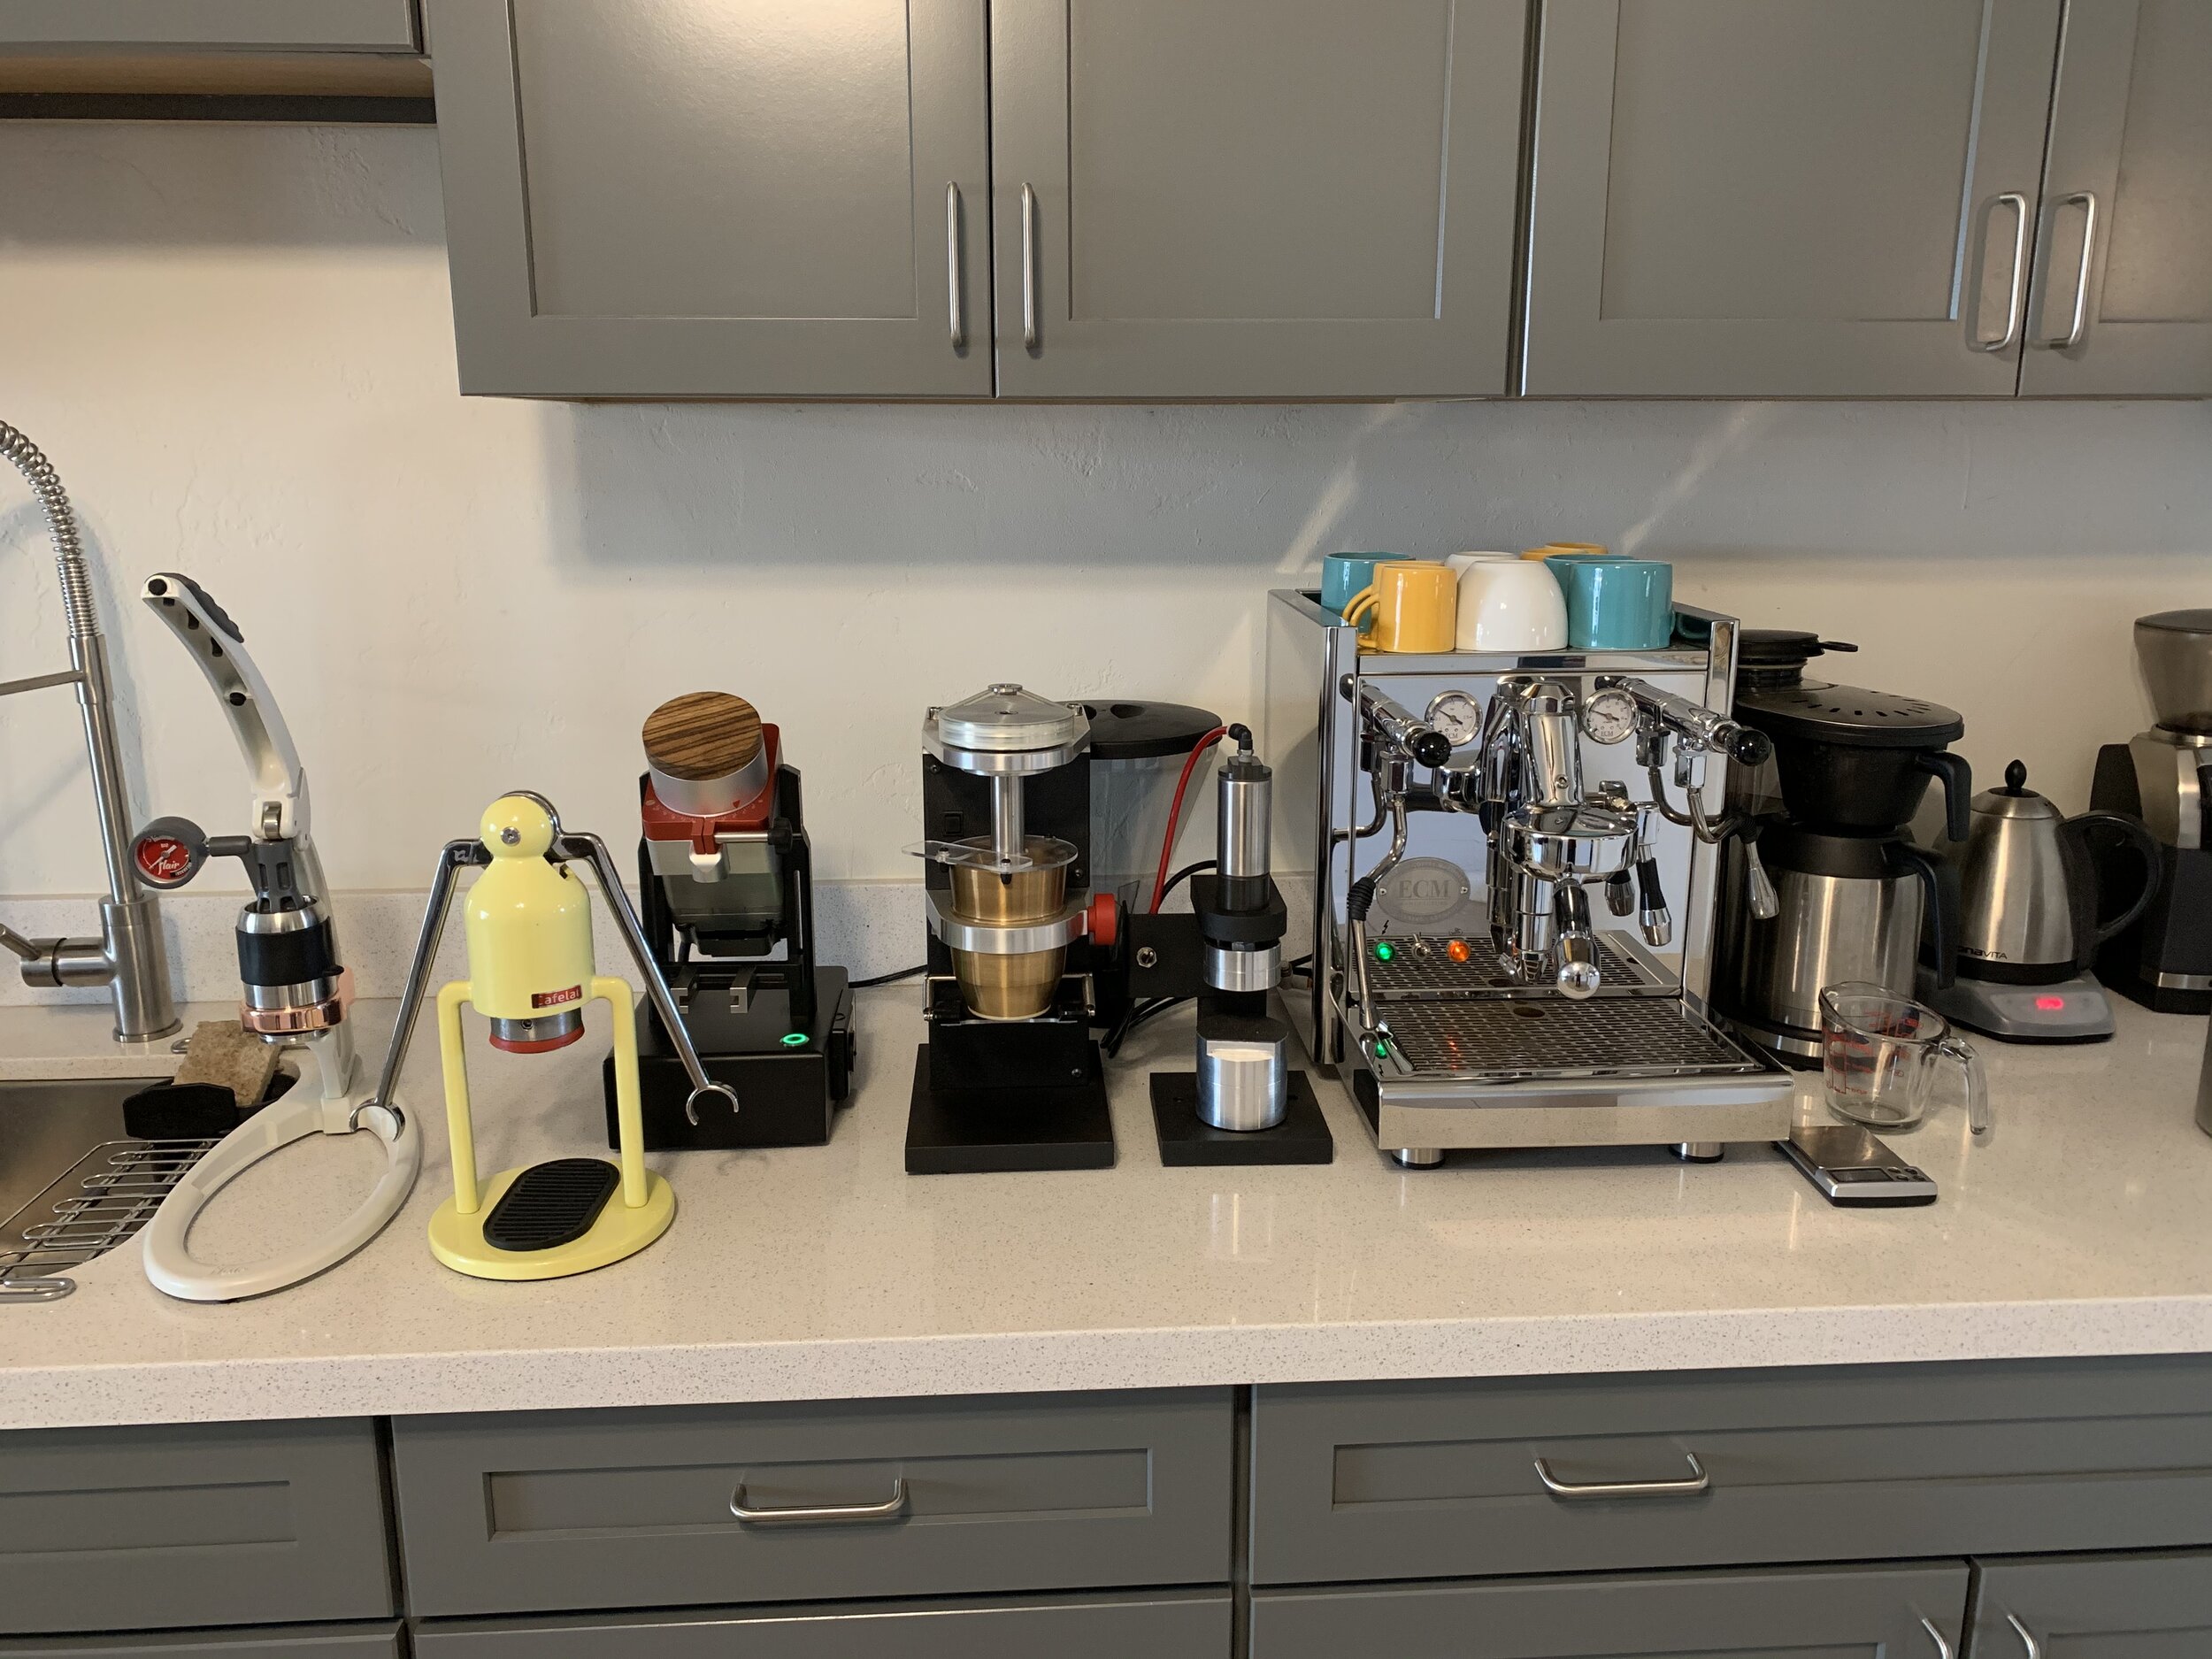
As you can see from the photos, a good friend of mine also brought over their Cafelat Robot to test side by side, so I will be following up with a direct comparison between those two machines.
This site and this post use affiliate links as part of Amazon’s Associates program. Any products purchased through the Amazon links contained within this post and on this site may provide a small referral commission to help support the site. To learn more and read the full disclosure, please visit the About/Contact page.